Tag Archives: breathing

Back Pain?

Back pain? Spasms? Everything hurts? It’s the worst! Having a back injury can be really debilitating. If you go to the doctor and they don’t find anything wrong and just prescribe you painkillers, you might be thinking you’re all set. Unfortunately, painkillers are just a bandaid for the symptoms. You still have to strengthen and rehab your back.

There are many potential underlying causes of back pain. You may have a bulging disc. You may have a strained muscle. Your muscles could be weak. The muscles could be hypertonic. There could be a muscle imbalance. Something could be out of place. Whatever the case, there are some general things that you can do to improve your back problem. I’m no doctor but I’ve dealt with my own back problems and helped others over the years by following some of these basic rules.

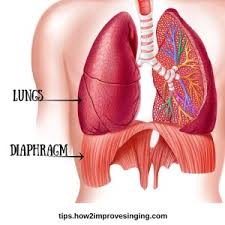
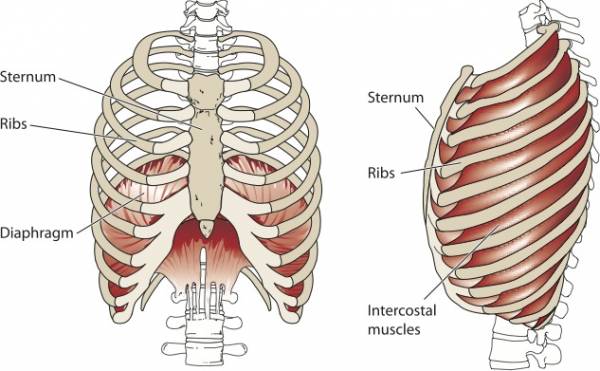
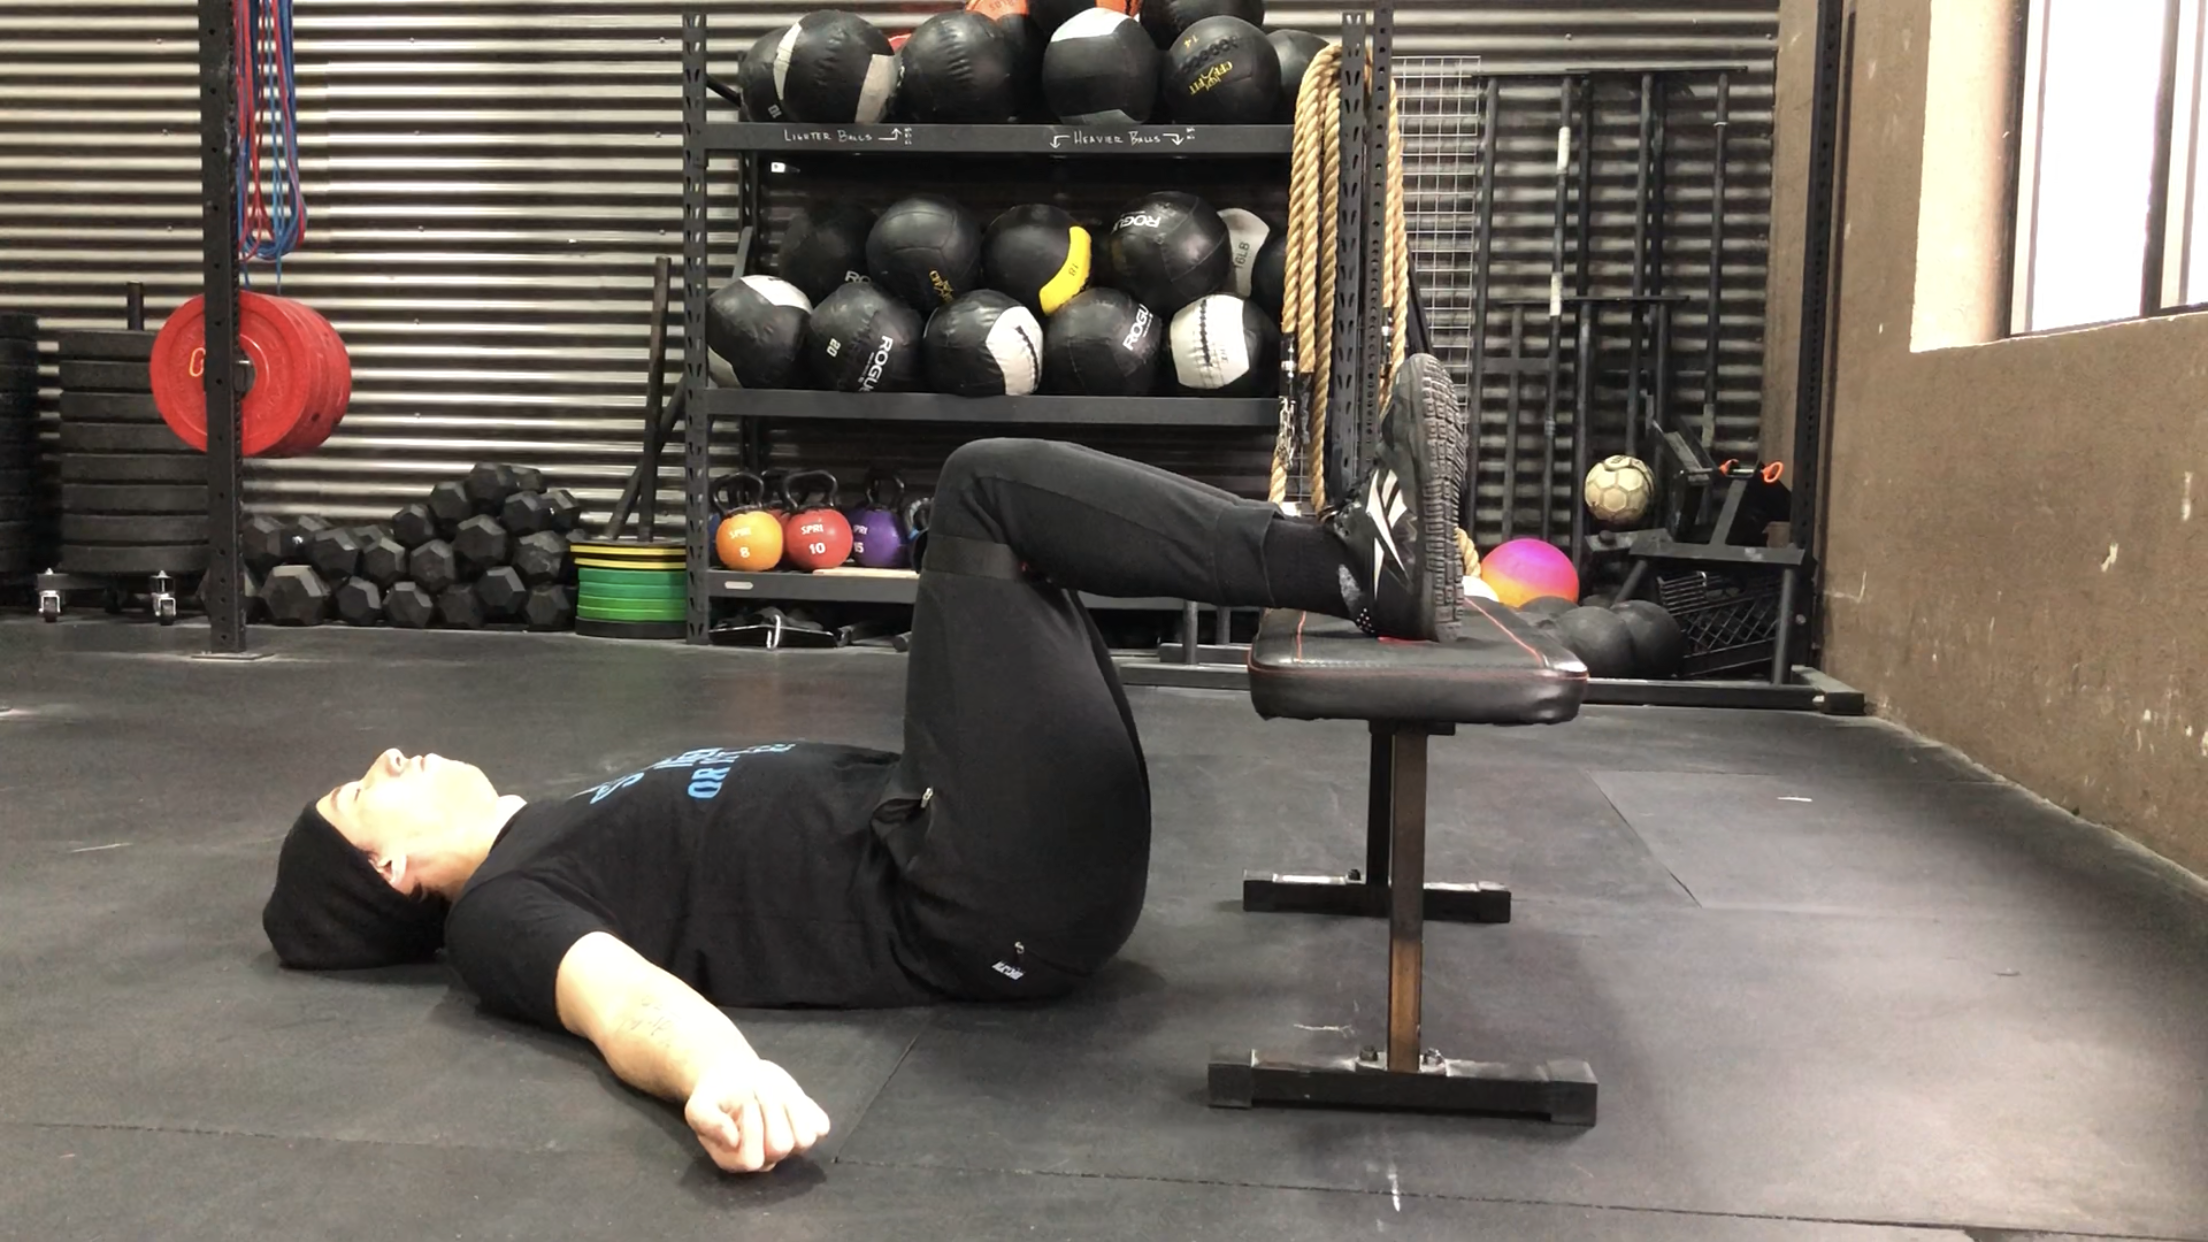
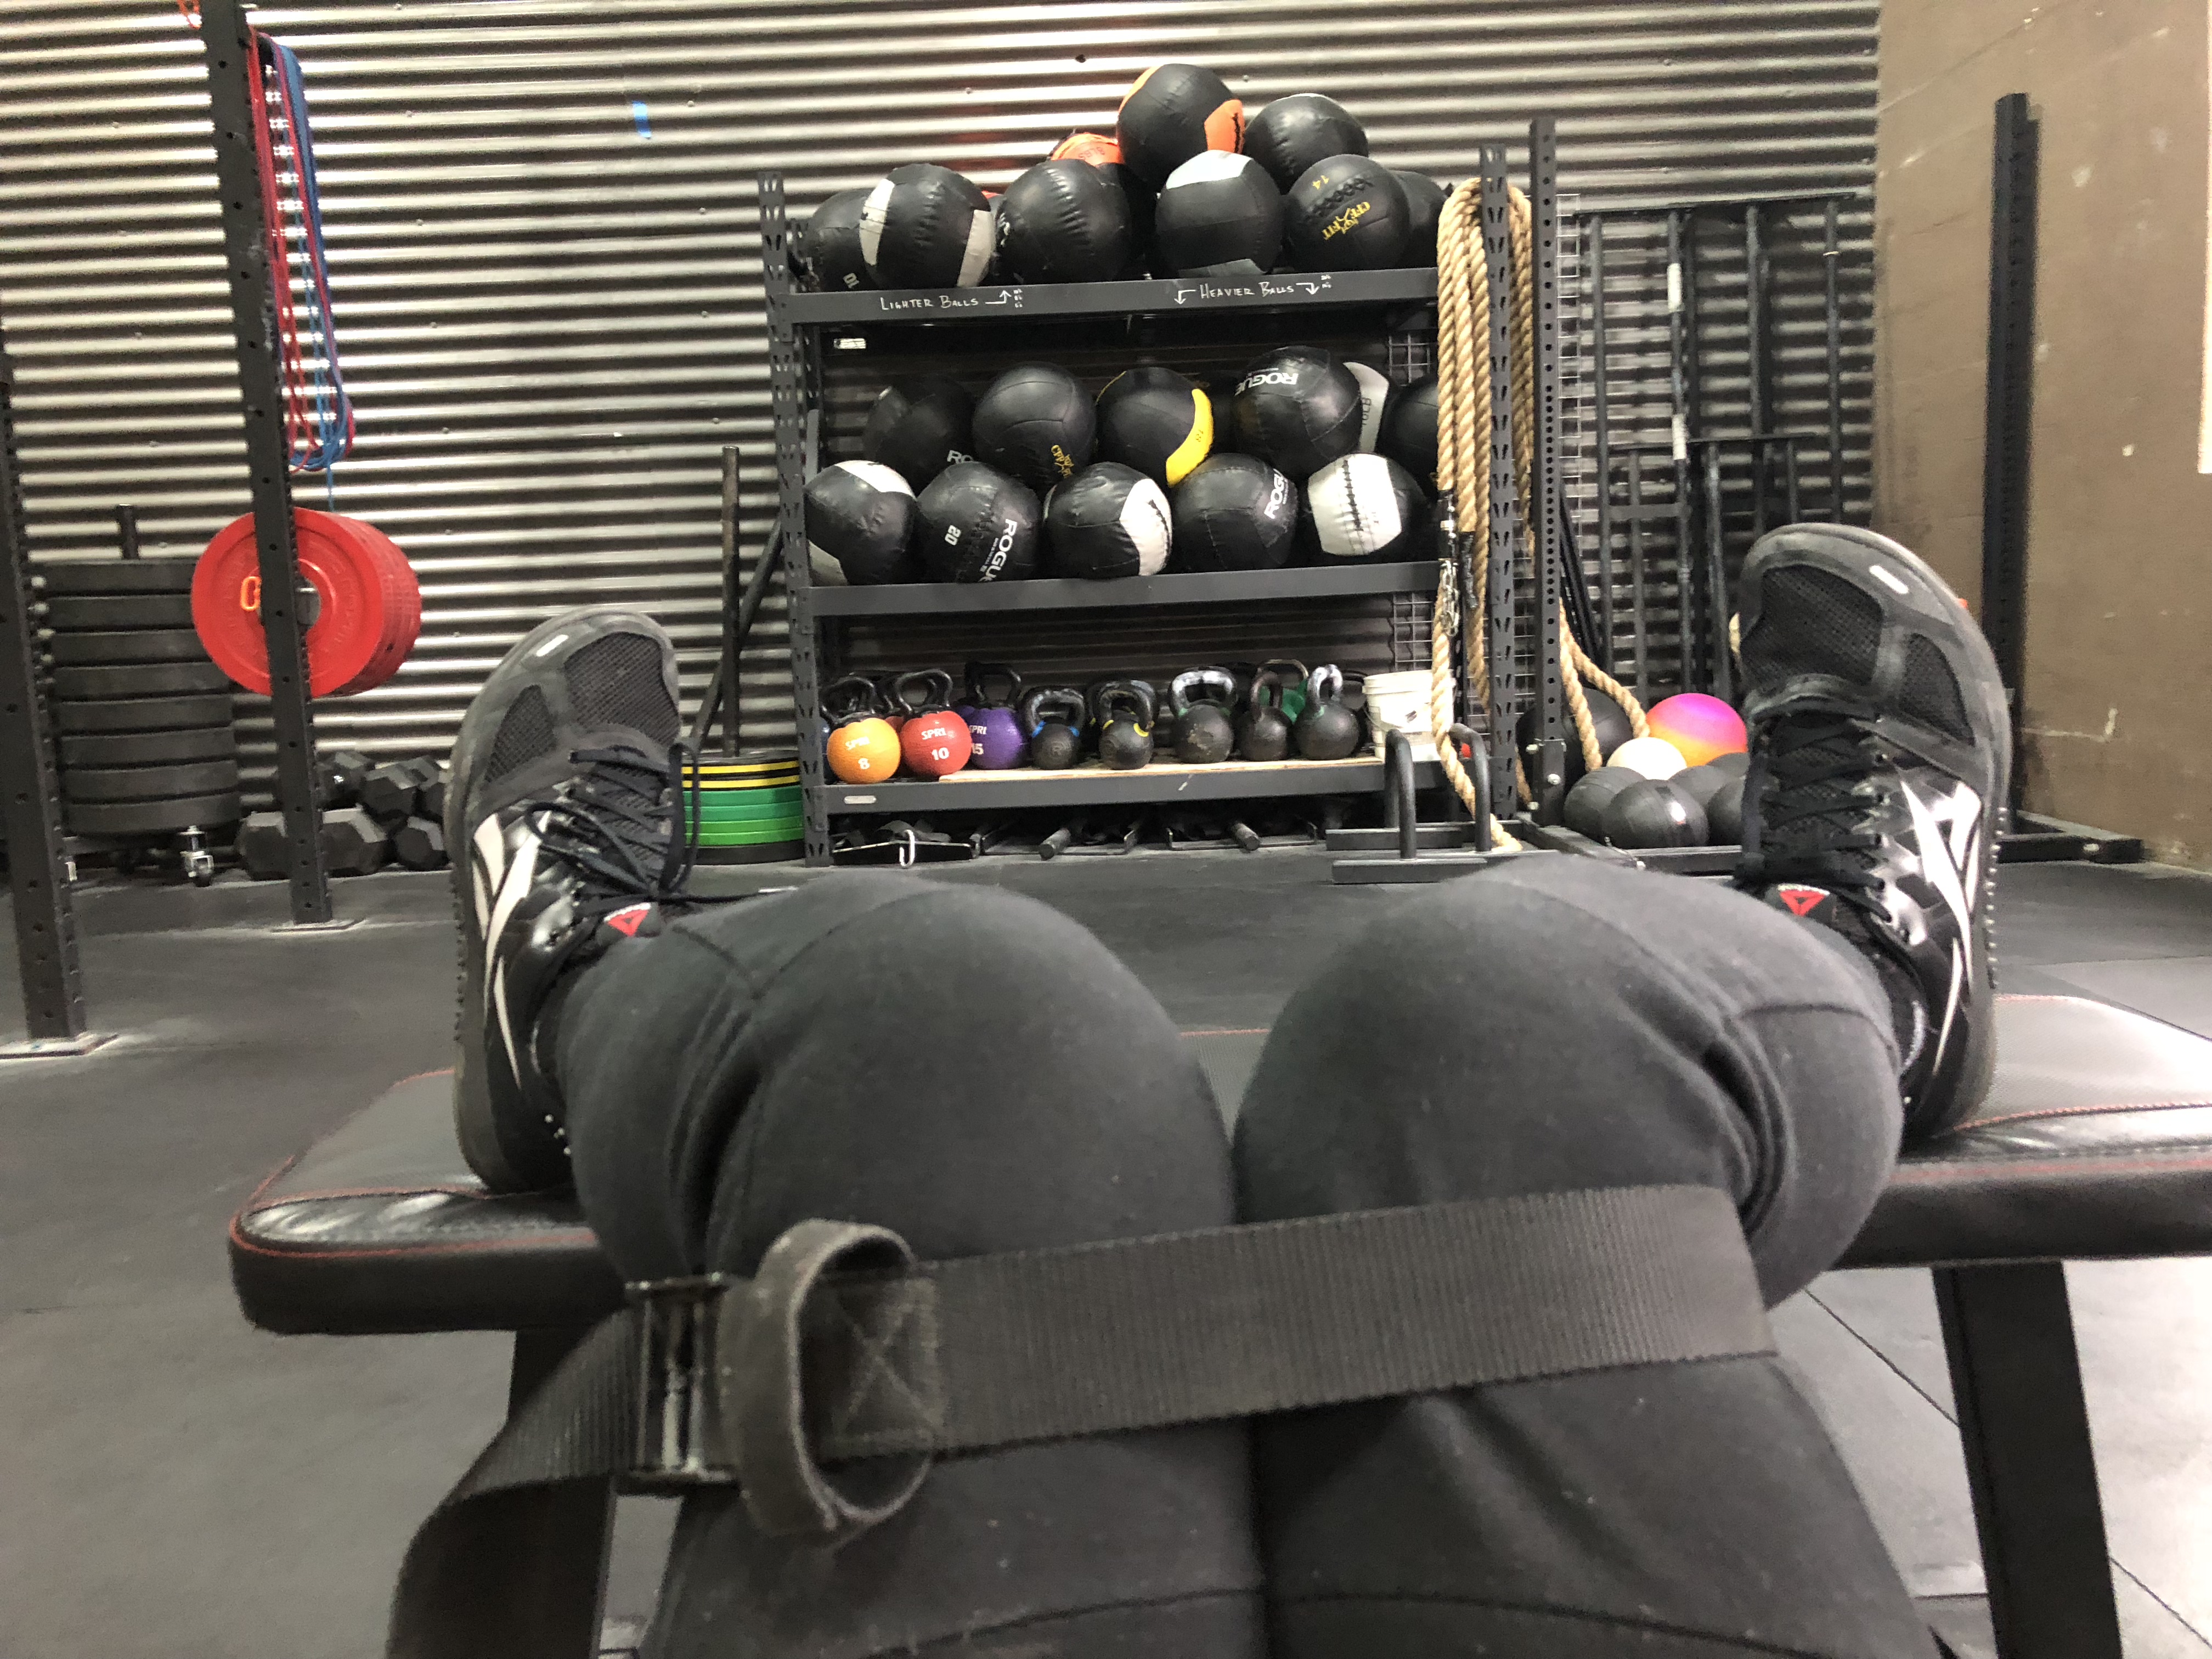
First thing is relax. Usually when you’re in a state of pain, you stress out. Once you’re stressed it heightens the pain. Lay down on your back, bend your knees to 90 degrees, and elevate your feet on a chair or couch so that your thighs are perpendicular to the floor and your shins are parallel to the floor. I also recommend internally rotating your thighs by keeping your knees close together and your feet apart. I sometimes use a strap to gently tie my knees together and use the back of the couch or chair to block my feet from coming together. Close your eyes and breathe deeply. Deep breathing through the nose using abdominal-thoracic breaths will help you stimulate your parasympathetic nervous system. This helps the body relax and helps quiet the pain response and helps muscles that are in spasm relax.

Three Abodes of Breath from Force Distance Time on Vimeo.

The next thing I recommend is to stay in motion. Sitting for long periods of time will cause your hip flexors to tighten and they can put a lot of stress on your lower back the moment you try to stand back up. Try to minimize the time you spend seated. When you do get up, try to move slowly at first, then try to walk around for as long as possible before you try to sit again.

The next thing I recommend is trying to increase blood flow and circulation to the area. The low budget approach to this is doing some cobra pushups. I recommend 3 sets of 15 or more reps with a 2-second pause at the top. They are simple. You lie prone on the floor with your hands next to your chest pressed into the floor like you are about to do a pushup. You squeeze your shoulders down and back, curl your chest up, squeeze your butt, then press your arms straight. Keep your butt squeezed and try to keep your hips close to the ground. The contractions of the glutes and lower back will warm the area and bring blood to the area.

Cobra Pushups from Force Distance Time on Vimeo.

If things are so bad that you cannot move without pain, then you need to find other ways to stimulate the muscles and create some blood flow. I like to use an electrical stimulation unit like a Powerdot or a Marc Pro that stimulates low level muscle contractions and helps create muscular activation without the pain that may be associate with moving. Once the muscles are stimulated and warm, you can then begin to move without pain. This is a good protocol if you have access to a muscle stimulator and can place the electrode pads on your back by yourself. You may require assistance and a small loan (worth it!) to purchase a stim unit.

Another way to stimulate blood flow to the area is through cupping or scraping. Cupping involves putting small cups on your back that have the air sucked out so it creates a vacuum. The vacuum draws the skin up and away from the superficial fascia and creates some bruising like a hickey. That bruising is what brings blood to the area. Scraping is another protocol (sometimes called gua sha or Graston) that uses an instrument (like a spoon or dull metal blade) to create soft tissue mobilization. Basically scraping the skin to create a sheer force between the skin and the superficial fascia. The result is again more blood flow and sometimes some bruising. The downside is that you will need someone to do these to you as most people cannot adequately perform these on their own lower backs.

Things to avoid are over stretching. Stretching has its place but is often over used. The problem with stretching is that it often feels good in the moment. Unfortunately, once the moment has passed, the pain often returns and is worse. This is especially true for certain disc injuries. So consider doing some stretches and exercises where you focus on keeping your spine in a neutral position and only move about the hip and shoulder.

Try these hip hinges and isolated hip circles to improve mobility without aggravating your spine.

Hip Hinges from Force Distance Time on Vimeo.

Isolated Hip Rotations from Force Distance Time on Vimeo.

Ujjayi Pranayama

Ujjayi Pranayama means “victorious breath.” It is often practiced through the entirety of an ashtanga or flow yoga class. It is meant to be calming and rhythmic and help the practitioner focus. Slow, deep inhales followed by long, exhales of roughly the same length. The defining characteristic is the wheezy, ocean-like sound. Ujjayi is an audible breath performed by constricting the throat and tongue slightly while breathing in and out through your nose.

Try this. Sit up straight. Close your eyes. Take a breath in through your nose and exhale out through your mouth and whisper “hahhh”. Feel where it vibrates the back of the throat. Take another breath in through your nose and whisper “hahhh” but press the tongue to the roof of your mouth. Feel where your tongue touches the palate and how the jaw constricts slightly. That’s basically the shape you want for your mouth. Take another deep inhale though the nose and exhale though the nose while retaining the sound. Keep doing this while taking slow, deep abdominal-thoracic breaths.

Ujjayi Pranayama from Force Distance Time on Vimeo.

I personally find it relaxing to perform ujjayi breaths and will consciously or unconsciously start doing it when I take deep breaths to relax or when I meditate. Because the breath is audible, you can focus on it better and thus counting your breaths and the length of your breaths becomes much easier. Because you are restricting the flow of air, you naturally breathe much slower with ujjayi breath and consequently much deeper.

One thing that I rarely hear mentioned about ujjayi breathing is the fact that it aides in spinal stabilization. The throat acts like a valve on abdominal-thoracic cavity. True abdominal bracing is done by creating pressure between the diaphragm and the perineum. However, the slight restriction on the breath helps create pressure as well. In situations where breath holding is ill-advised but some intra-abdominal pressure is necessary, ujjayi breath is a strong choice.

Breathe Fucking Harder

Breathing is a funny thing. We do it all day long out of necessity and rarely give it much thought. However, just because we do it so often doesn’t necessarily mean we are good at it nor are we getting better at it. In fact, I find that a lot of people suffer from “bad breath.” Their breathing patterns are less than stellar. So what? You may ask.
images-1
The thing about our breath is that it is linked to our central nervous system; it is tied to physical performance; it is tied our movements; and it is tied to our pain. We can utilize the breath to up-regulate our nervous system or down-regulate our nervous system. We can move in ways that help or hinder our breath. We can use our breath to help alleviate our pain or to mask it.

Our main respiratory muscle is the diaphragm. The diaphragm is a key player not only in breath but also in spinal stabilization as it is used to create intra-abdominal pressure. When I assess clients that have chronic pain and/or movement dysfunction they often have “bad breath,” i.e. poor breathing mechanics and poor control of their diaphragm. By teaching people how to breathe properly, I can get them to down regulate and create a physiological state where healing can occur. Proper breathing allows me to better help them stabilize and protect their spines which leads to better, pain-free movement and helps me teach them better movement patterns.

For example, you twist your ankle and it hurts to walk on. Maybe you tore a ligament or strained muscle, you don’t know. All you know is that it hurts. Maybe you went to the doctor, maybe you didn’t. Maybe you took pain killers. It doesn’t matter. Your body senses pain in your foot. Every time you try to walk on it, you wince a little and your body braces itself. It stiffens. You hold your breath a little with each step. You compensate by placing more weight on the other leg and your hips shift with every step. That means your lower back is supported more on one side than the other. After a few days of this, you don’t even know you are compensating and your brain starts to filter out the noise coming from that achy ankle because now you can pretty much get through your day. Six months later your lower back is hurting all the time. You think it’s unrelated. Turns out it is from all the compensating you’ve done to avoid stress on your bad ankle that hasn’t healed.

So are you saying that learning to breathe better will fix my lower back? Not exactly. If you learn to breathe better, you can start to relax a little. That’s important because when you are stress breathing you are up-regulating your sympathetic nervous system (“fight or flight”) and releasing stress hormones. When you learn how to do abdominal-thoracic breathing you down-regulate and activate your parasympathetic nervous system (“rest and digest”) and get back to homeostasis and this allows your body to better heal itself. Furthermore, once we get you to breathe deeply we can then create some intra-abdominal pressure and teach you how to stabilize your spine. Often that helps relieve some of the back pain. Once your spine is stabilized when you stand you won’t shift your weight over and you will put weight on both feet then suddenly you will realize your ankle still hurts. Finally you can start doing something about that ankle.

images

This all seems convoluted. It is. The body is a complex system of systems. That is why many people suffer injuries over and over or constantly find themselves getting stalled in their progress. The pain isn’t where the problem started. The pain is where the problem stopped. Going back to the start of the pain is the hard part. Breathing is just one of the vehicles that help us on that journey.

From a practical and functional standpoint, you need to breathe deeper so you can perform better. Learning how to take longer, deeper breaths and create and utilize the full capacity of the lungs is essential to performance. Strengthening the diaphragm is also important because that is one of the stabilizers of the spine. If your spine isn’t stable, you are going to have big problems.

Three Abodes of Breath from Force Distance Time on Vimeo.

The Three Abodes of Breath

imgres

As I eluded to before, there are several ways to breathe. The body being intelligent has redundancies built in so that we can always find a way to breathe. See the video above. The first abode is abdominal breathing. In abdominal breathing we utilize the diaphragm to draw air into the lungs. When the central tendon of the diaphragm contracts, it pulls the giant umbrella shaped muscle down and creates a low pressure system in the lungs. The lungs then draw air in air to balance the pressure. Lie comfortably on your back with your knees bent and feet close to your butt. Place one hand on the belly and one hand on the chest. Inhale into the belly and it should rise up under your hand. Exhale and the belly should fall.

shutterstock23857276copy

The second abode is thoracic breathing. Thoracic breathing utilizes the intercostal muscles between the ribs to expand the rib cage. The increased diameter of the rib cage creates low pressure in the thoracic cavity and draws air in. Inhale into your chest. The chest should rise up into your hand. You might also feel the back of your ribs press into the floor. ‘

The third abode is clavicular breathing. Clavicular breathing utilizes the levator scapulae and the trapezius muscles to draw the shoulders upward and create low pressure in the upper thoracic cavity and draw air in. Clavicular breathing is associated with stress breathing and panting. It tends to be very shallow. Breath into your shoulders. The shoulders with rise up into your ears. This is called clavicular breathing and should be used infrequently as it is often associated with panic breathing. Unfortunately, many people chronically practice clavicular breathing and are stressed out. Furthermore, they often suffer a lot of shoulder problems because of the overused trapezius muscles that should be doing other things besides helping you breathe all day.

Abdominal Thoracic Breathing

Practice isolating each abode of breath. Compare the sensations associated with each abode. Which one allows you to breathe deepest and which one stresses you out. Now practice abdominal-thoracic breathing. Lie on your back with your eyes closed. Bend your knees and place your heels close to your butt. Place one hand on the belly and one hand on the chest. As you inhale you should feel the belly rise up into your hand first and then the chest rise up into the other hand. On the exhale the chest descends then the belly. Continue breathing like this for 10 cycles. Go as slow as you can comfortably.

You should feel calm and relaxed afterwards. If you find it difficult to breathe like this, you need more practice. Most people try too hard at first which actually makes it more difficult to breathe. Do less. Abdominal-thoracic breathing should be your normal relaxed breathing pattern. Chronic pain and movement dysfunction correlate highly with the inability to perform abdominal-thoracic breathing. Practice breathing this way whenever you become conscious of your breath.

Bridge Lifts

In the next exercise we put it all together and link our movement with our breath. It’s called a bridge lift (I demo these at the end of the video). We start in ardha sivasana lying on our backs with our feet by our butt. Our arms by our side. From here we inhale and lift our hips and arms up. Our hips terminate at the top of a bridge pose and our arms continue until they come to rest by our ears. On the exhale we return our hips to the floor and our arms by our sides. The goal is to synchronize the breathing with the movement. Remember the hips move much slower because they travel a much shorter distance than the arms which travel in a 180-degree arc. This is called a vini or vinyasa. The promise of vinyasa yoga is that evenly metered breath coupled with evenly metered movement will result in an even mind.

You will find that you breathe deeper in the bridge lifts because the movement helps facilitate deeper breaths. One reason is that now you are adding clavicular breathing in addition to the abdominal-thoracic breathing. As the arms rise shoulders get pulled up and help draw in more air. This is proper and normal clavicular breathing that occurs

Practice abdominal thoracic breathing and the bridge lifts and work up to sets of 10 breaths. You should feel relaxed and calm afterward. The goal is to move slower and breathe deeper. Not to go fast and get your heart rate up. Do not take your breathing for granted. There is much to be gained by mastering your breath. Some people say “Master your breath, master your life.” I say, “Breathe fucking harder!”

Advanced Kettlebell Course

I spent the weekend taking the CrossFit Advanced Kettlebell Seminar with Jeff Martone.  The content was divided between what I call “Old School” and “New School.”  The Old School stuff was rotational work with the kettlebells most notably the Windmill and the Bent Press, two lifts that are synonymous with physical culture.  Look at this iconic photo of Arthur Saxon.  How cool is that?  arthur_saxon.fw_

The new school content was what is known as Girevoy Sport or Kettlebell Sport.  In this sport like Olympic Weightlifting there are 3 contested lifts: the snatch, the clean, and the jerk.  However, unlike Olympic Weightlifting, this is an endurance sport where athletes compete to complete as many reps as possible (usually in 10 minutes) of either snatch, clean & jerk (“long cycle”) or jerk (“short cycle”).  They basically stand in one place and lift the kettlebell(s) as many times as they can without putting it down.  When competing with a single bell, they are only allowed one hand switch.  The bells can not be put down.  Merely standing and holding one or two kettlebells for 10 minutes without putting them down can be arduous.  Imagine exercising non stop for that time.

Personally I was excited to work on Windmills and the Bent Press was a move I have struggled with and was eager to get some pro tips on how to do it correctly.   I have had some exposure to Girevoy Sport through friends but never really had any desire to do it.  However, I was fascinated by the fact that my female friends could do 100 kettlebell snatches on each arm without putting the bell down.  My best was around 27.  So clearly there was something to be learned about efficiency.

I prefer the kettlebell moves where I do 3 to 5 reps per side and put the bell down.  When we got to the KB Sport section of the course I was less enthusiastic to be doing longer sets of cleans, jerks and snatches.  However, Jeff was able to layer on so many effective techniques to help relax.  The goal as he described it was not a powerful effort but effortless power.  With each passing set he cued different ways to stand without tension, to relax whatever body part wasn’t working like your face or the opposite arKB_Sport_Featurem.  He emphasized “anatomical breathing’–breath coinciding with the position of the body.  Constantly breathing and not holding the breath.  He emphasized a relaxed grip and different ways to minimize the stress on the grip.

By the end of the weekend we tested out with a set of 30 snatches on each arm with a 20kg kettlebell.  It was the easiest 60 kettlebell snatches of my life. I was shocked at how little I was winded after the effort.  My grip was taxed but I never felt like I had to drop the bell nor was I afraid it would fly out of my hand if I dared to do another rep.  I was a little surprised because, if you have ever spent two straight days swinging kettlebells, then you know your hands are just rubbed raw and your hamstrings are smoked, I thought for sure I was going to struggle to get to 30 reps.  I didn’t.  It was effortless power.

It made me start to wonder if I could use these techniques to do 60-100 reps of any exercise.  Martone claims that the Russians use that 100 rep milestone for squats and deadlifts and lots of other exercises.  Certainly being more efficient and more relaxed and breathing more would have to carry over.

I’m lucky if I breathe once per rep.  We learned that on just the swing itself you take two breath cycles.  Additionally, when you receive the bell there is an exhale, when you lower the bell there is an inhale.  If you rest with the bell in the rack or overhead, you continuously puff out short exhales.  Ultimately, there is way more breathing going on in one rep of a kettlebell snatch than I had previously imagined.  This breathing helps a lot in being able to sustain longer efforts.  I think about what I do in a set of wallballs or burpees and realize I am not breathing nearly as frequently as I could… or should.

Further exploration is required.