Category Archives: Mobility

Sometimes Wrong is Right

76860_10150123872834062_2587584_n
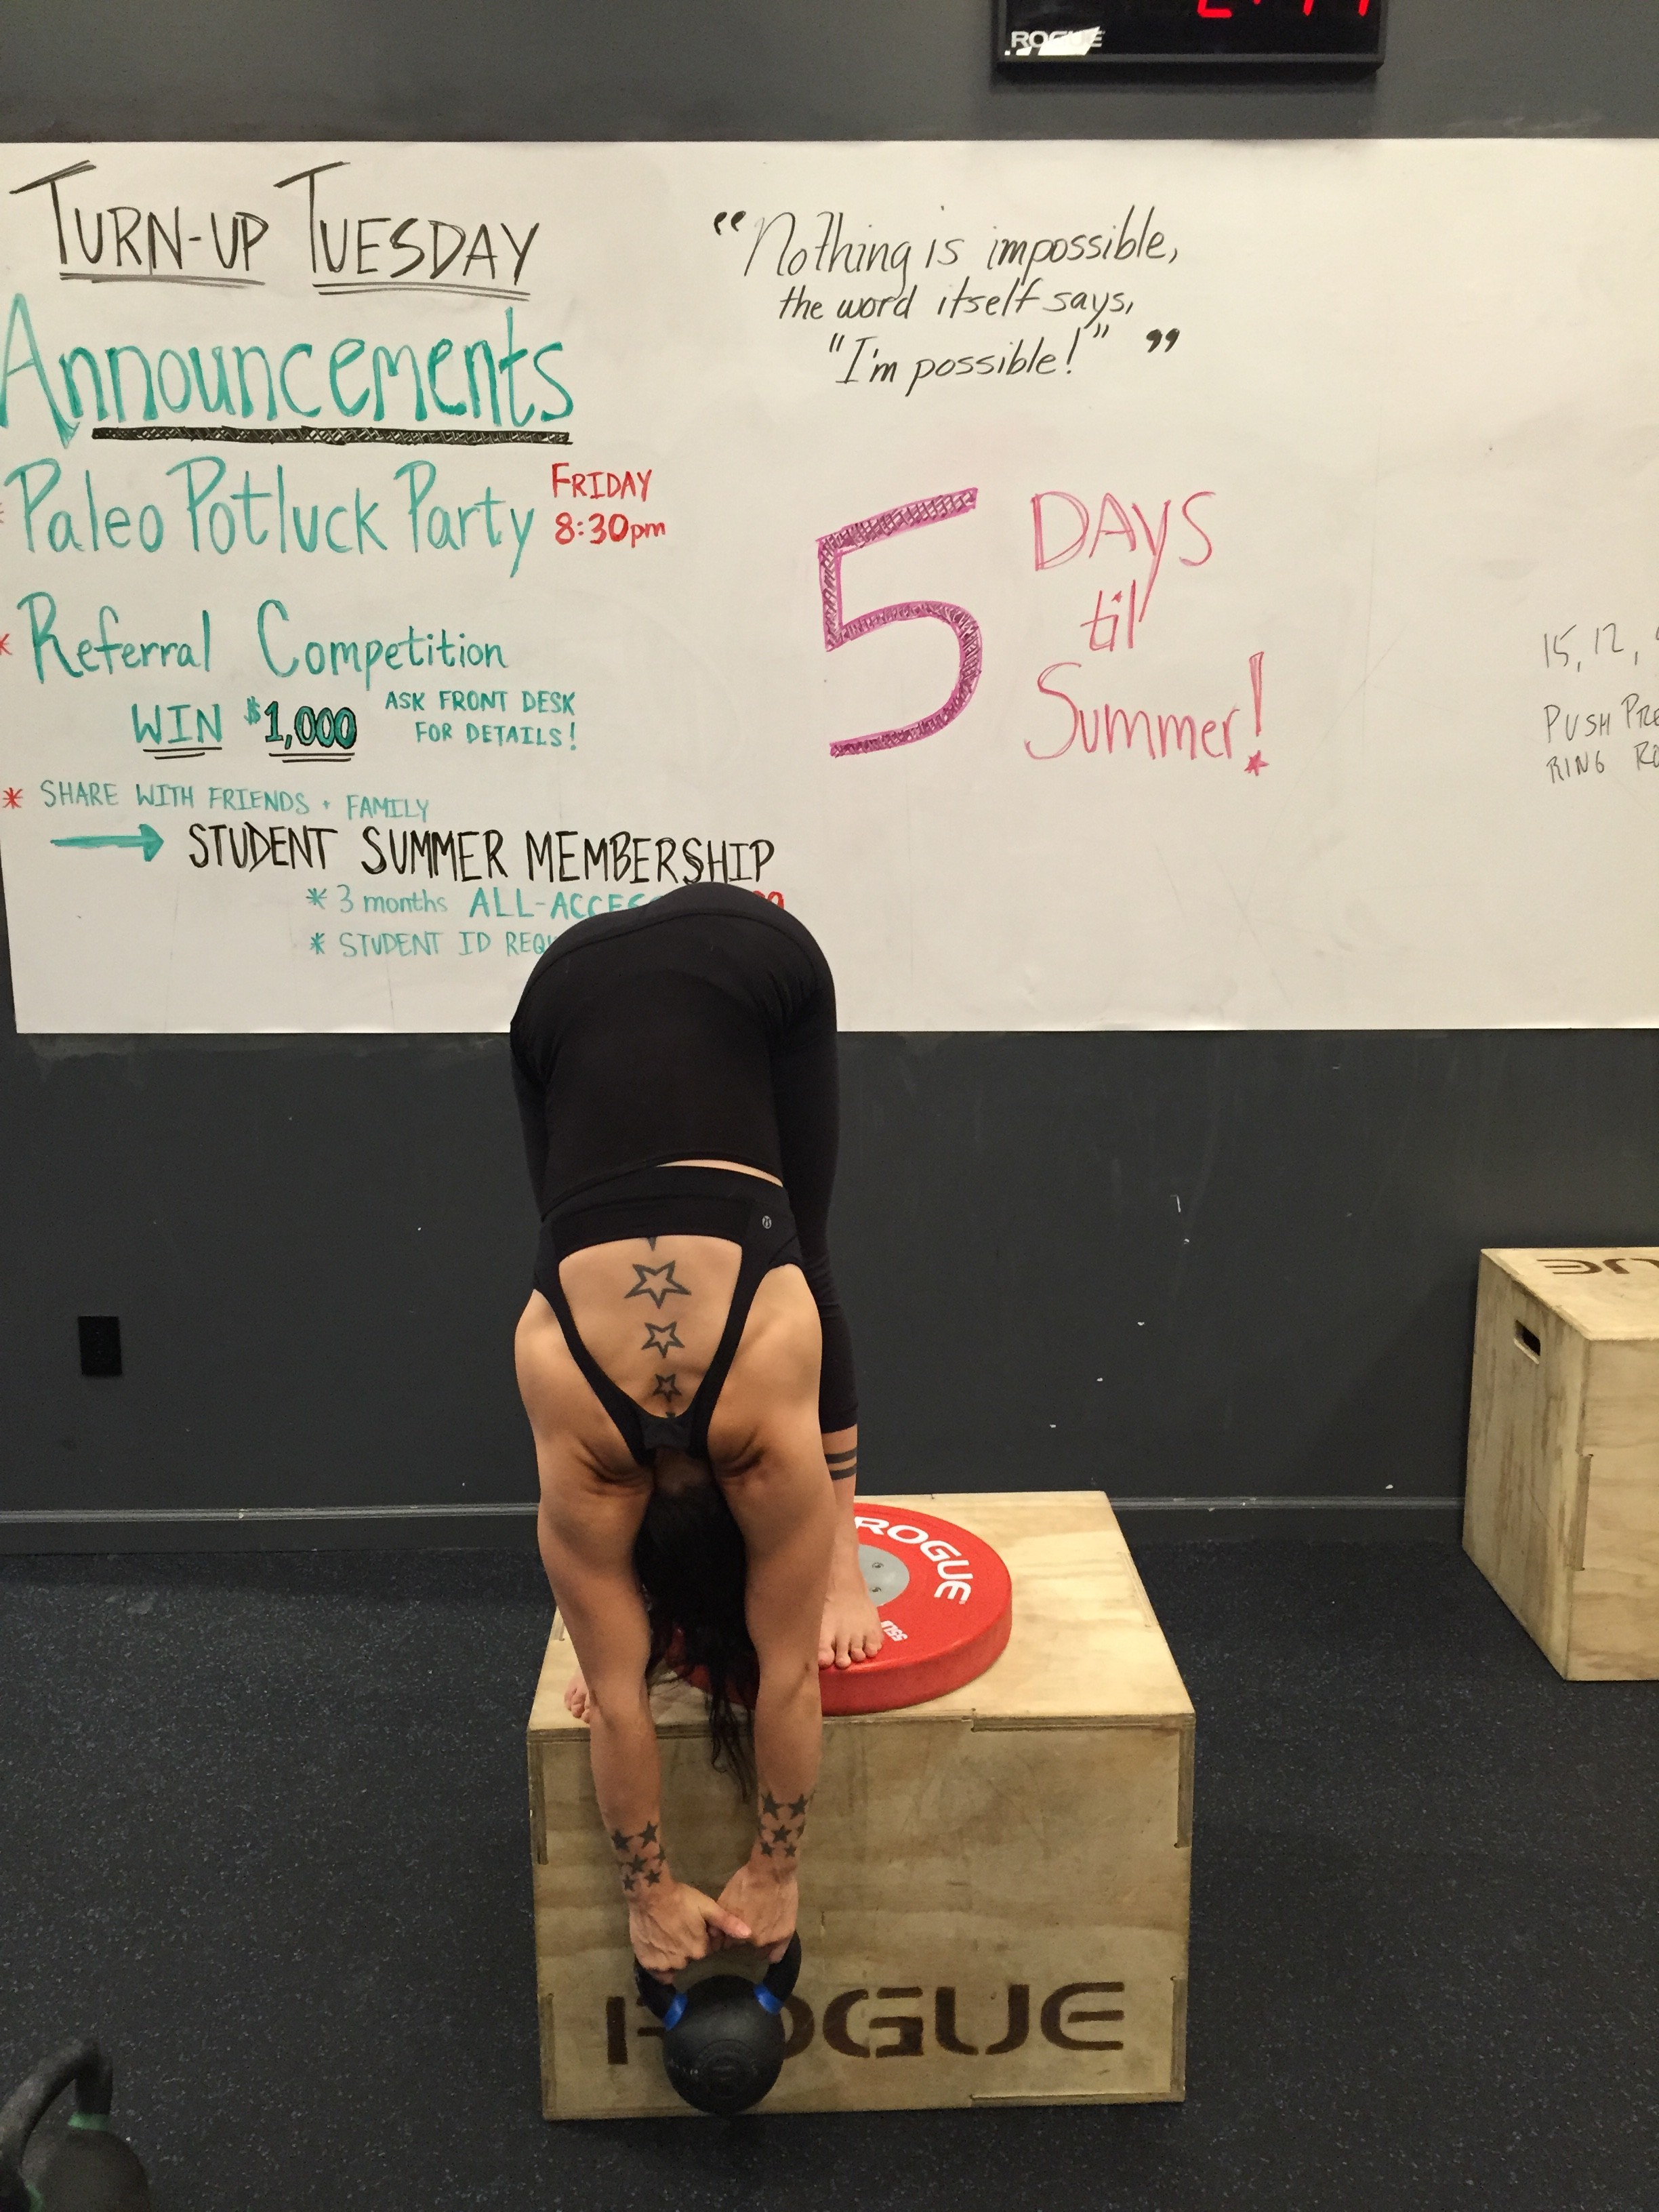
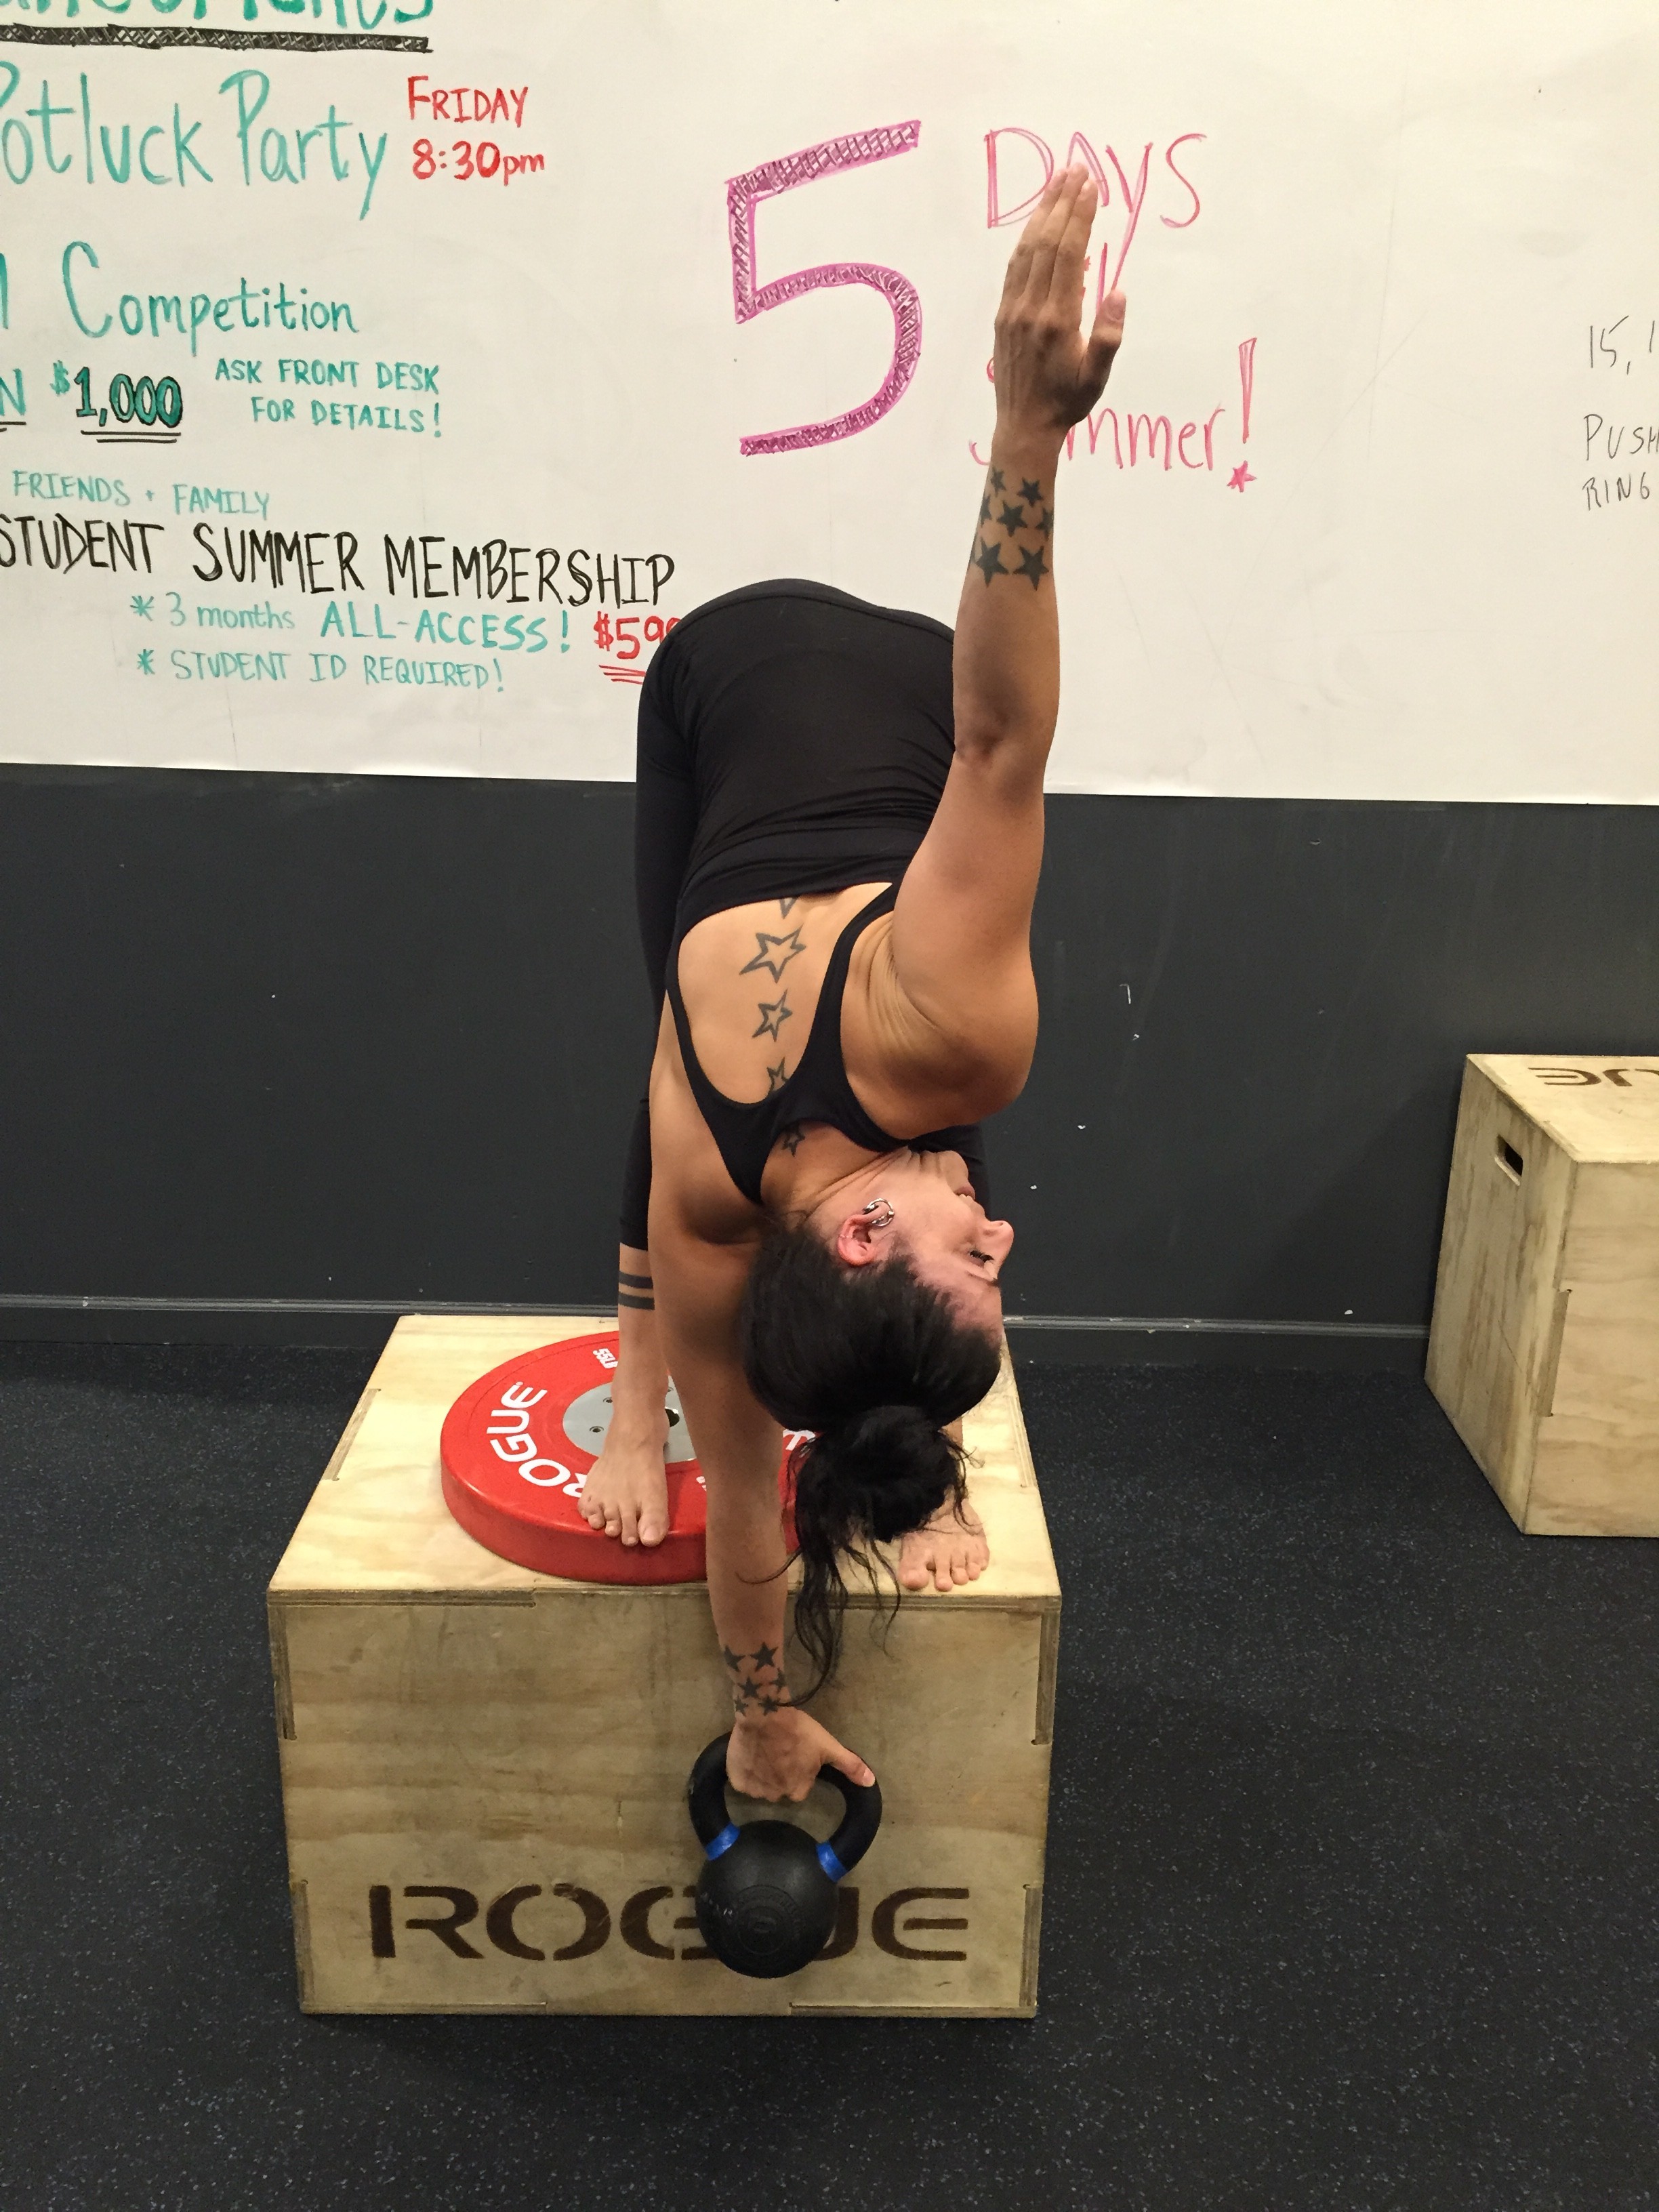
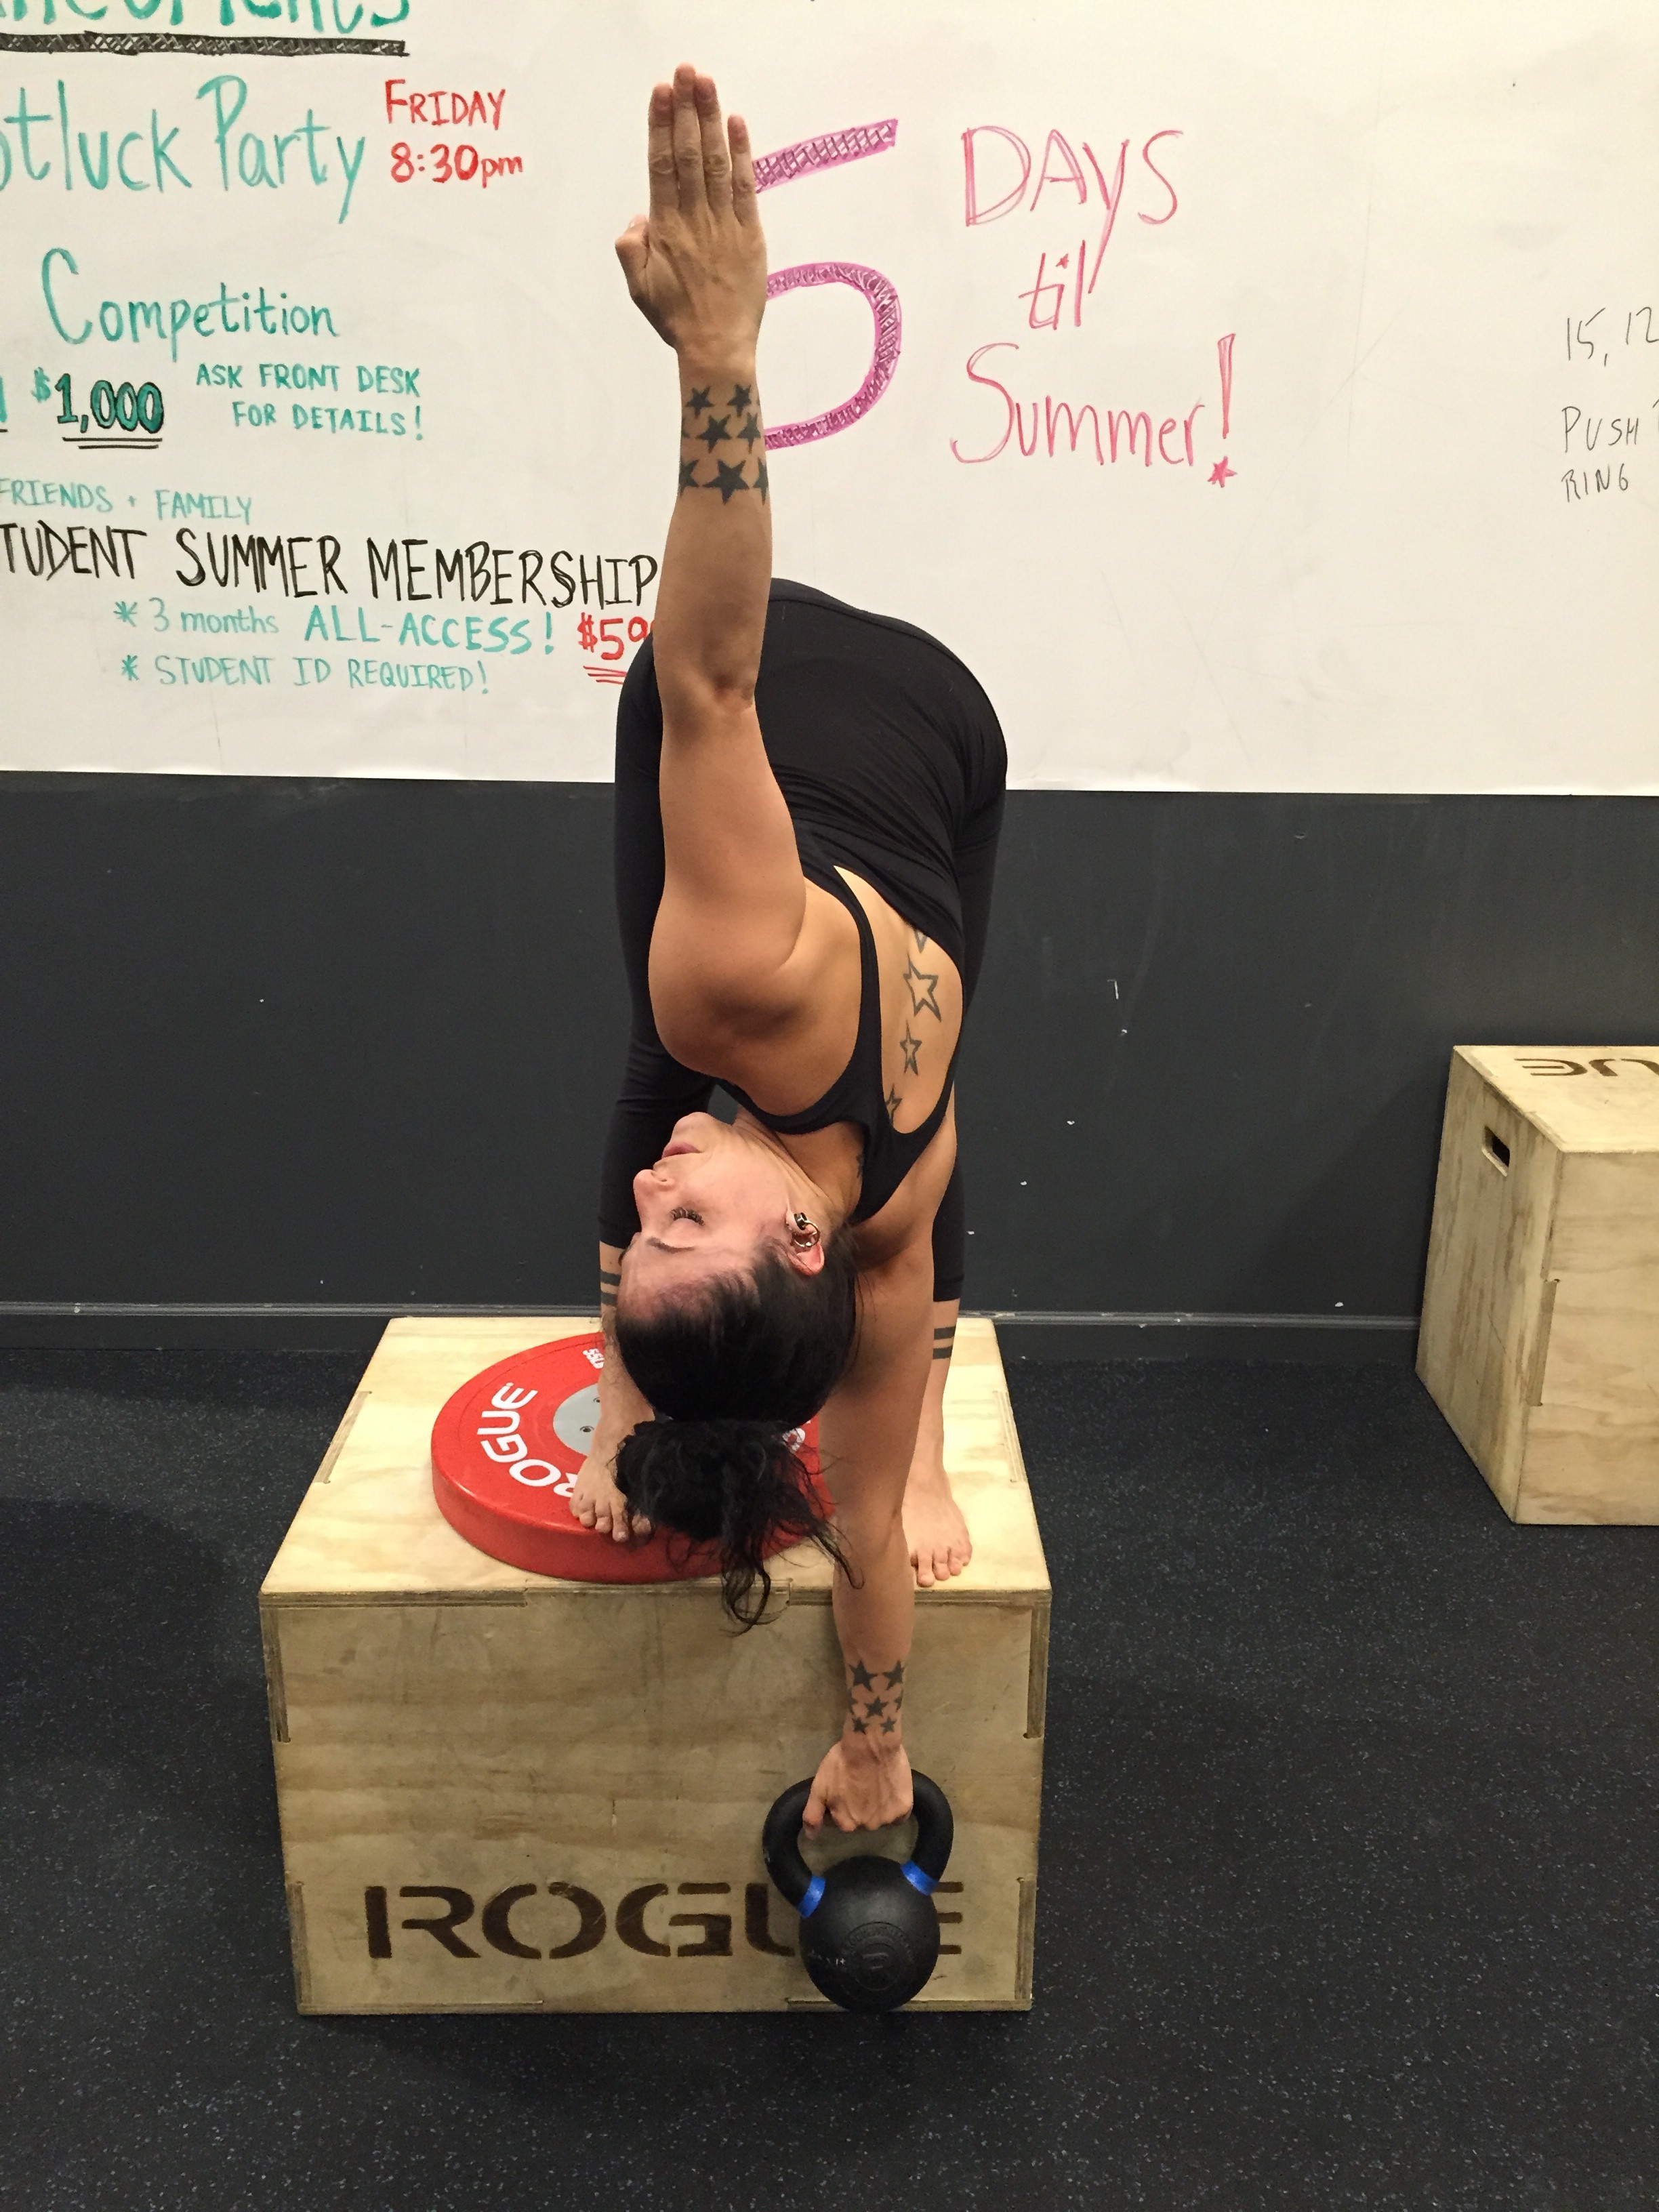
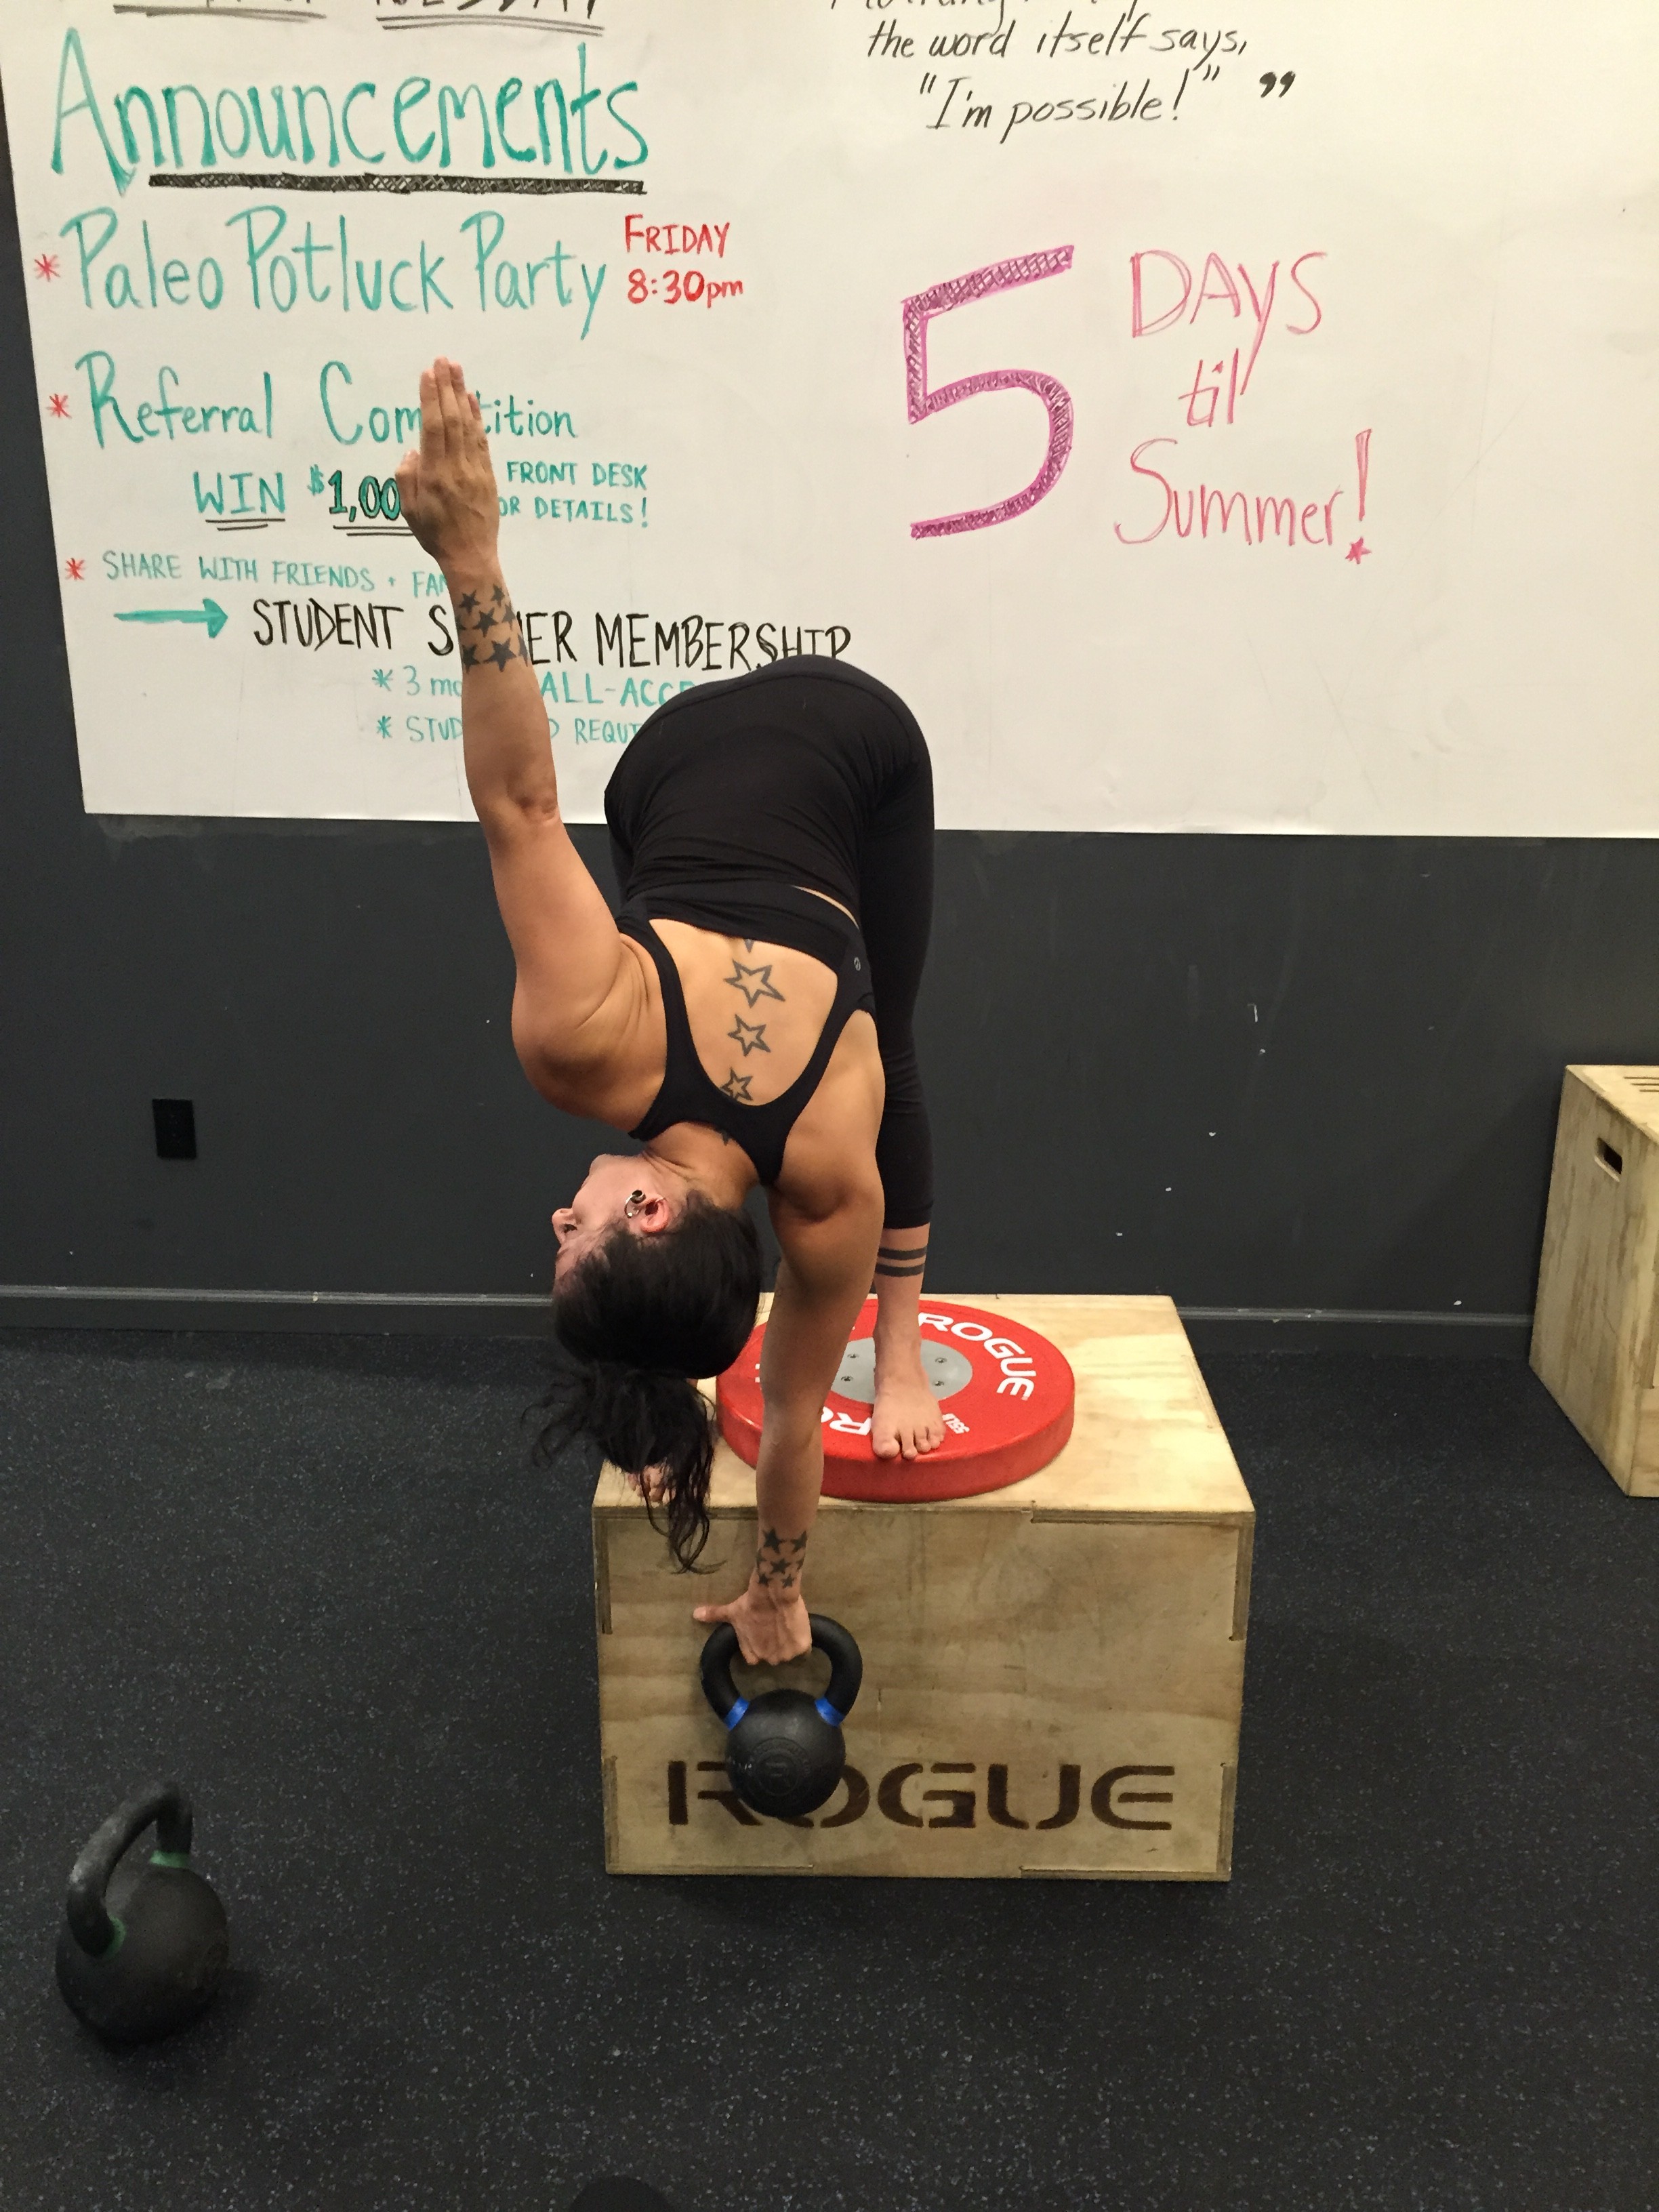
I spend a lot of time fixing people’s squats.  A lot.  I’m really good at it.  I often find that my best success in fixing a squat comes when I have them do it wrong.  It’s a great paradox and one that many people have a hard time accepting but it works.

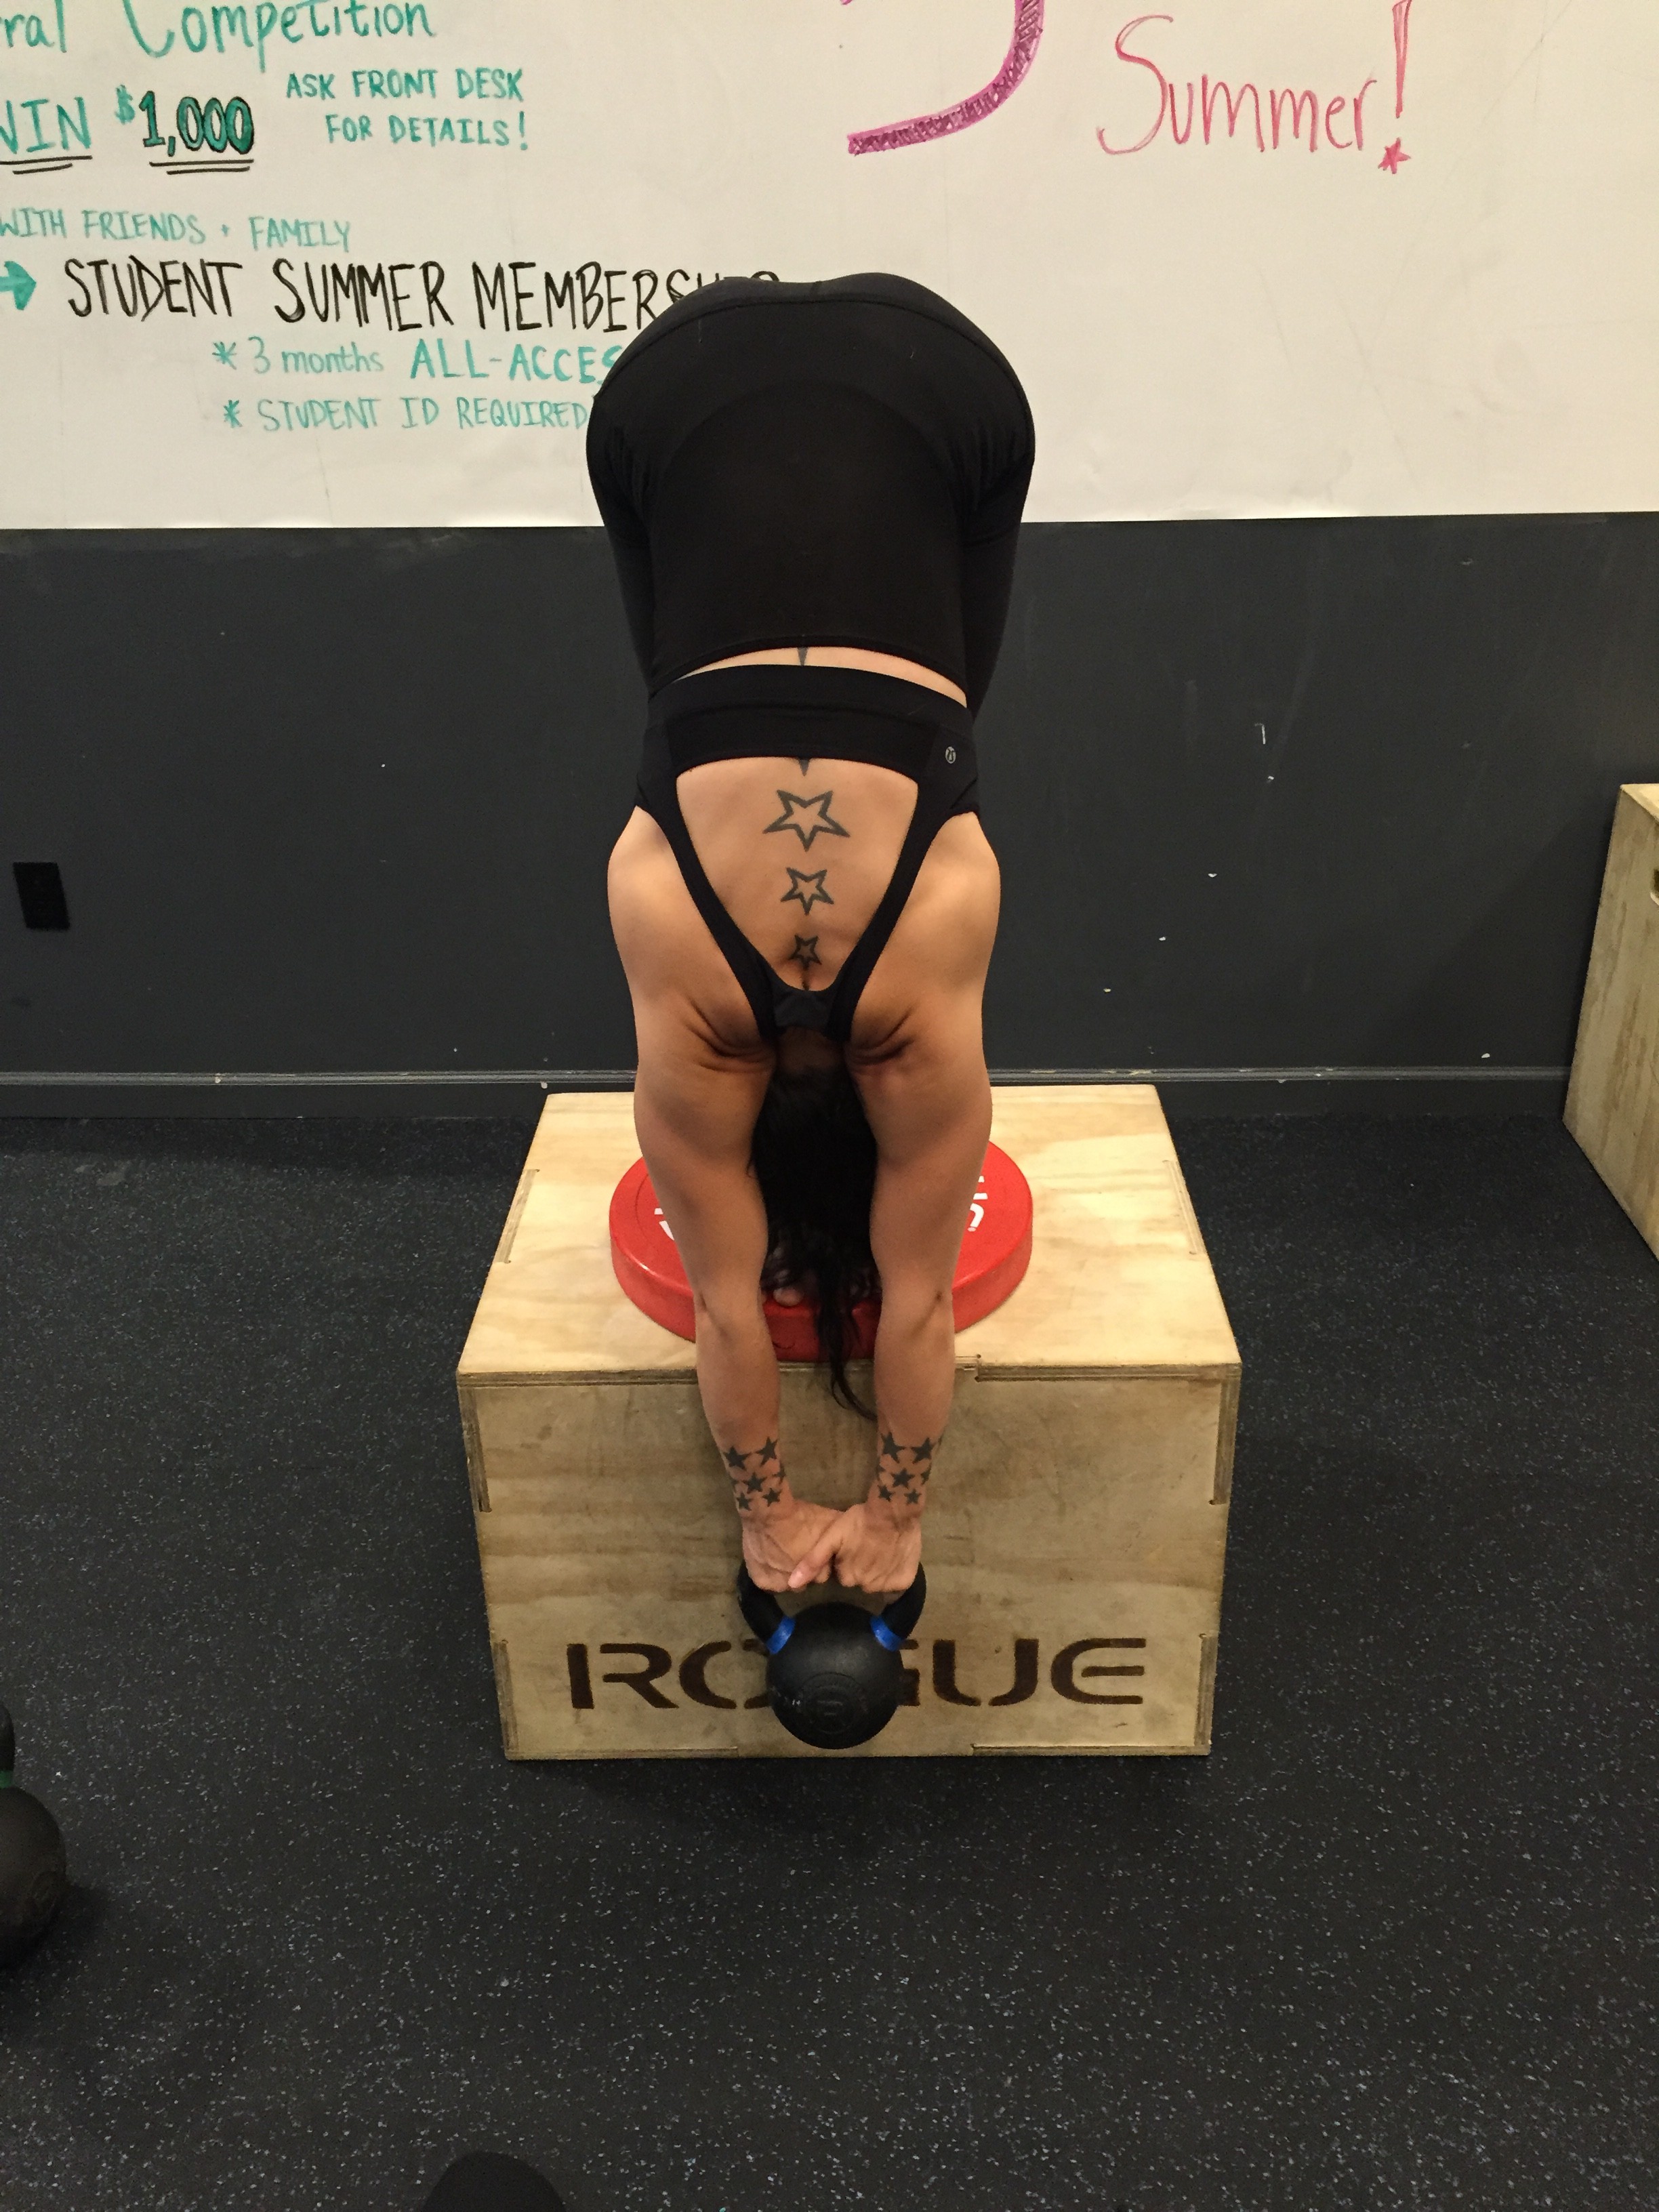
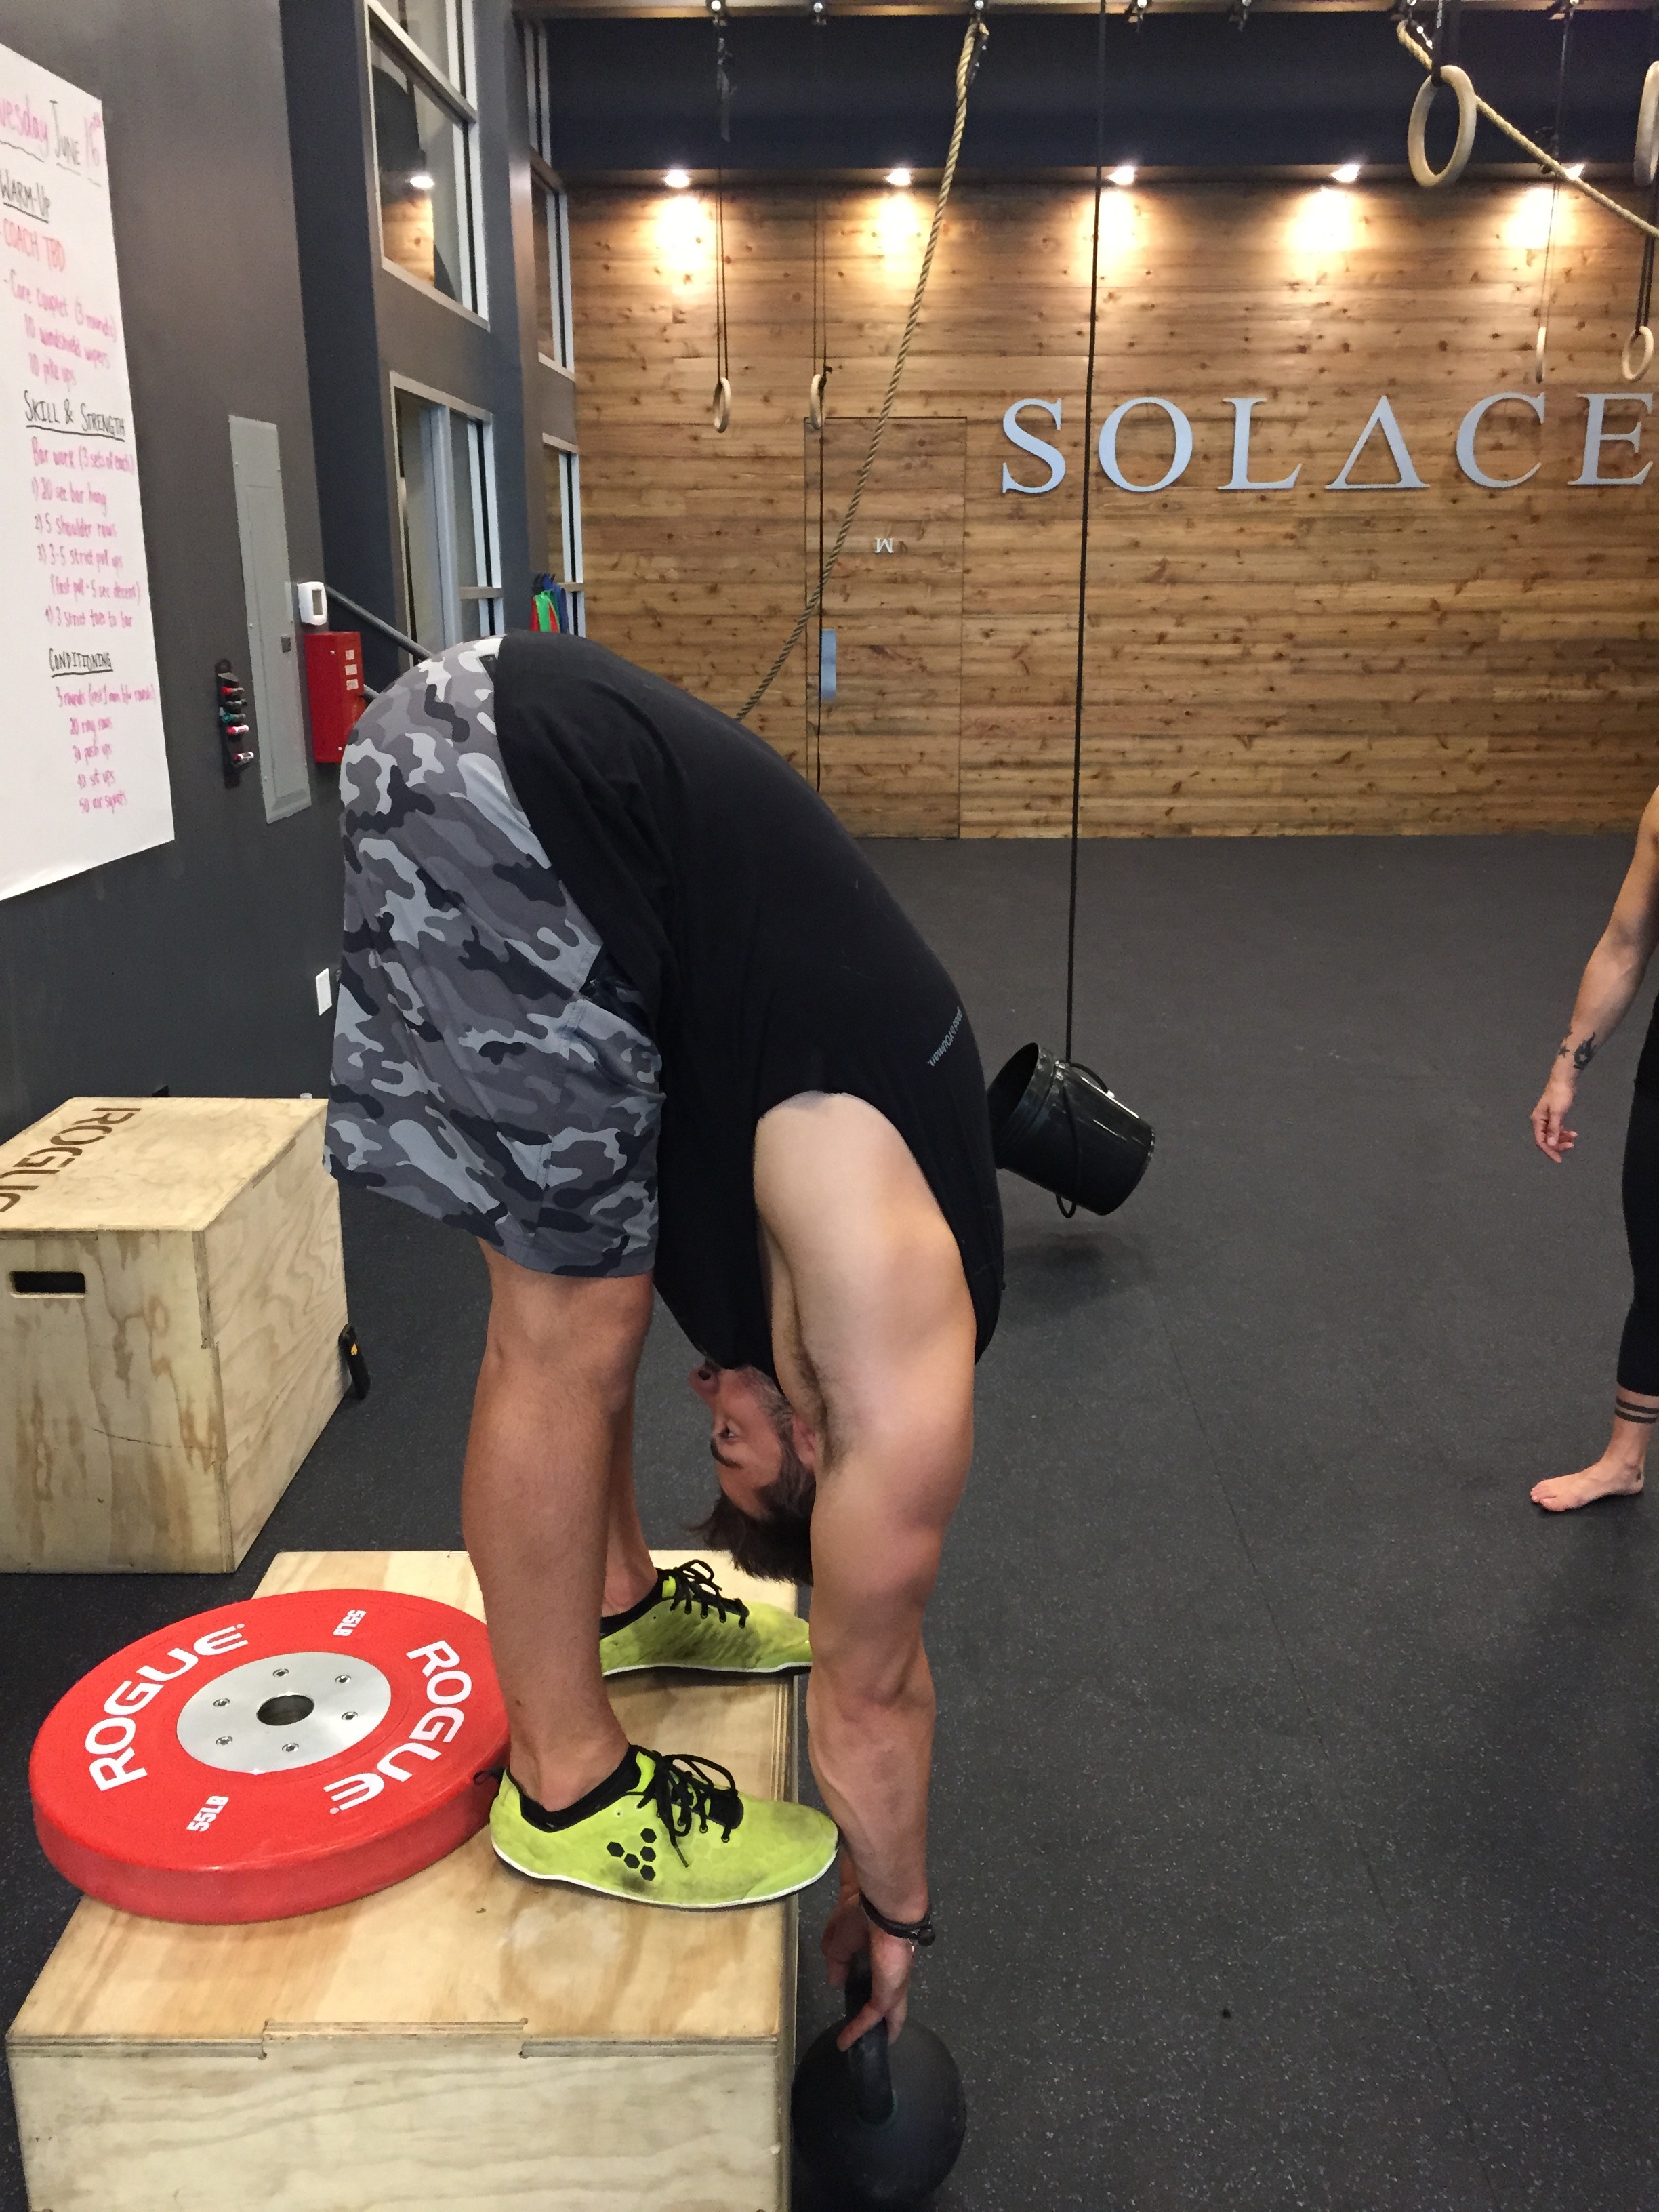
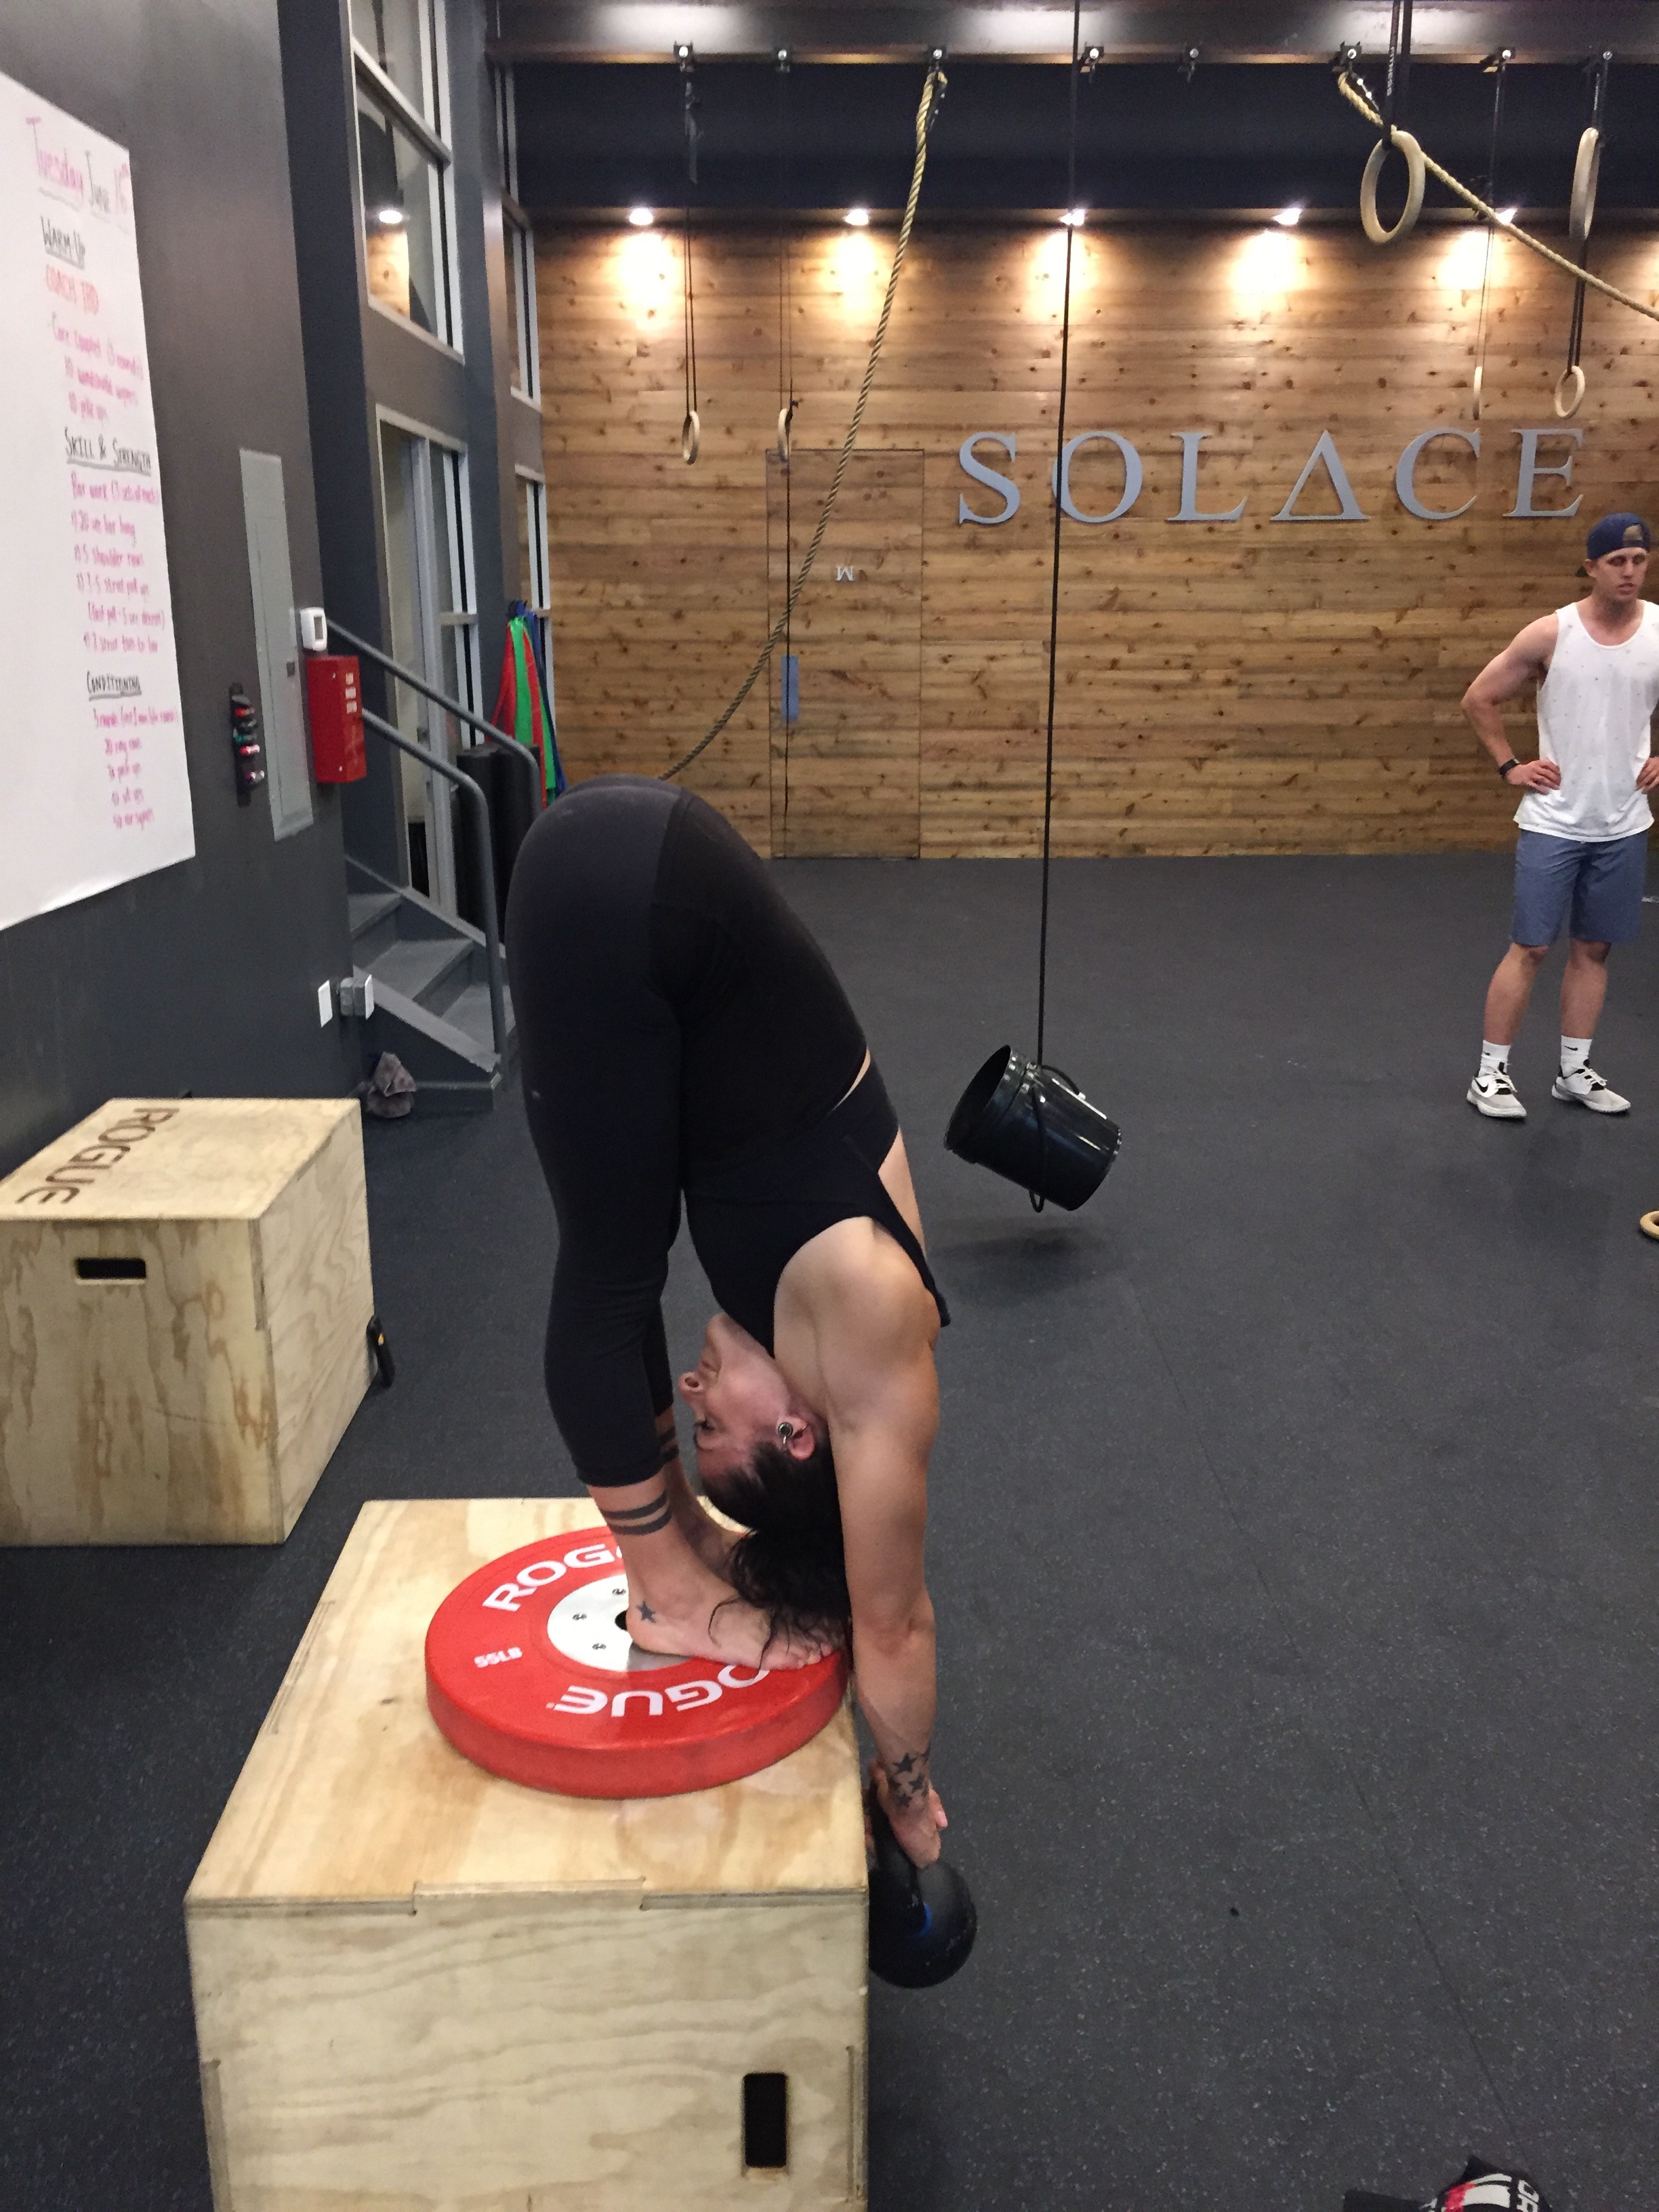
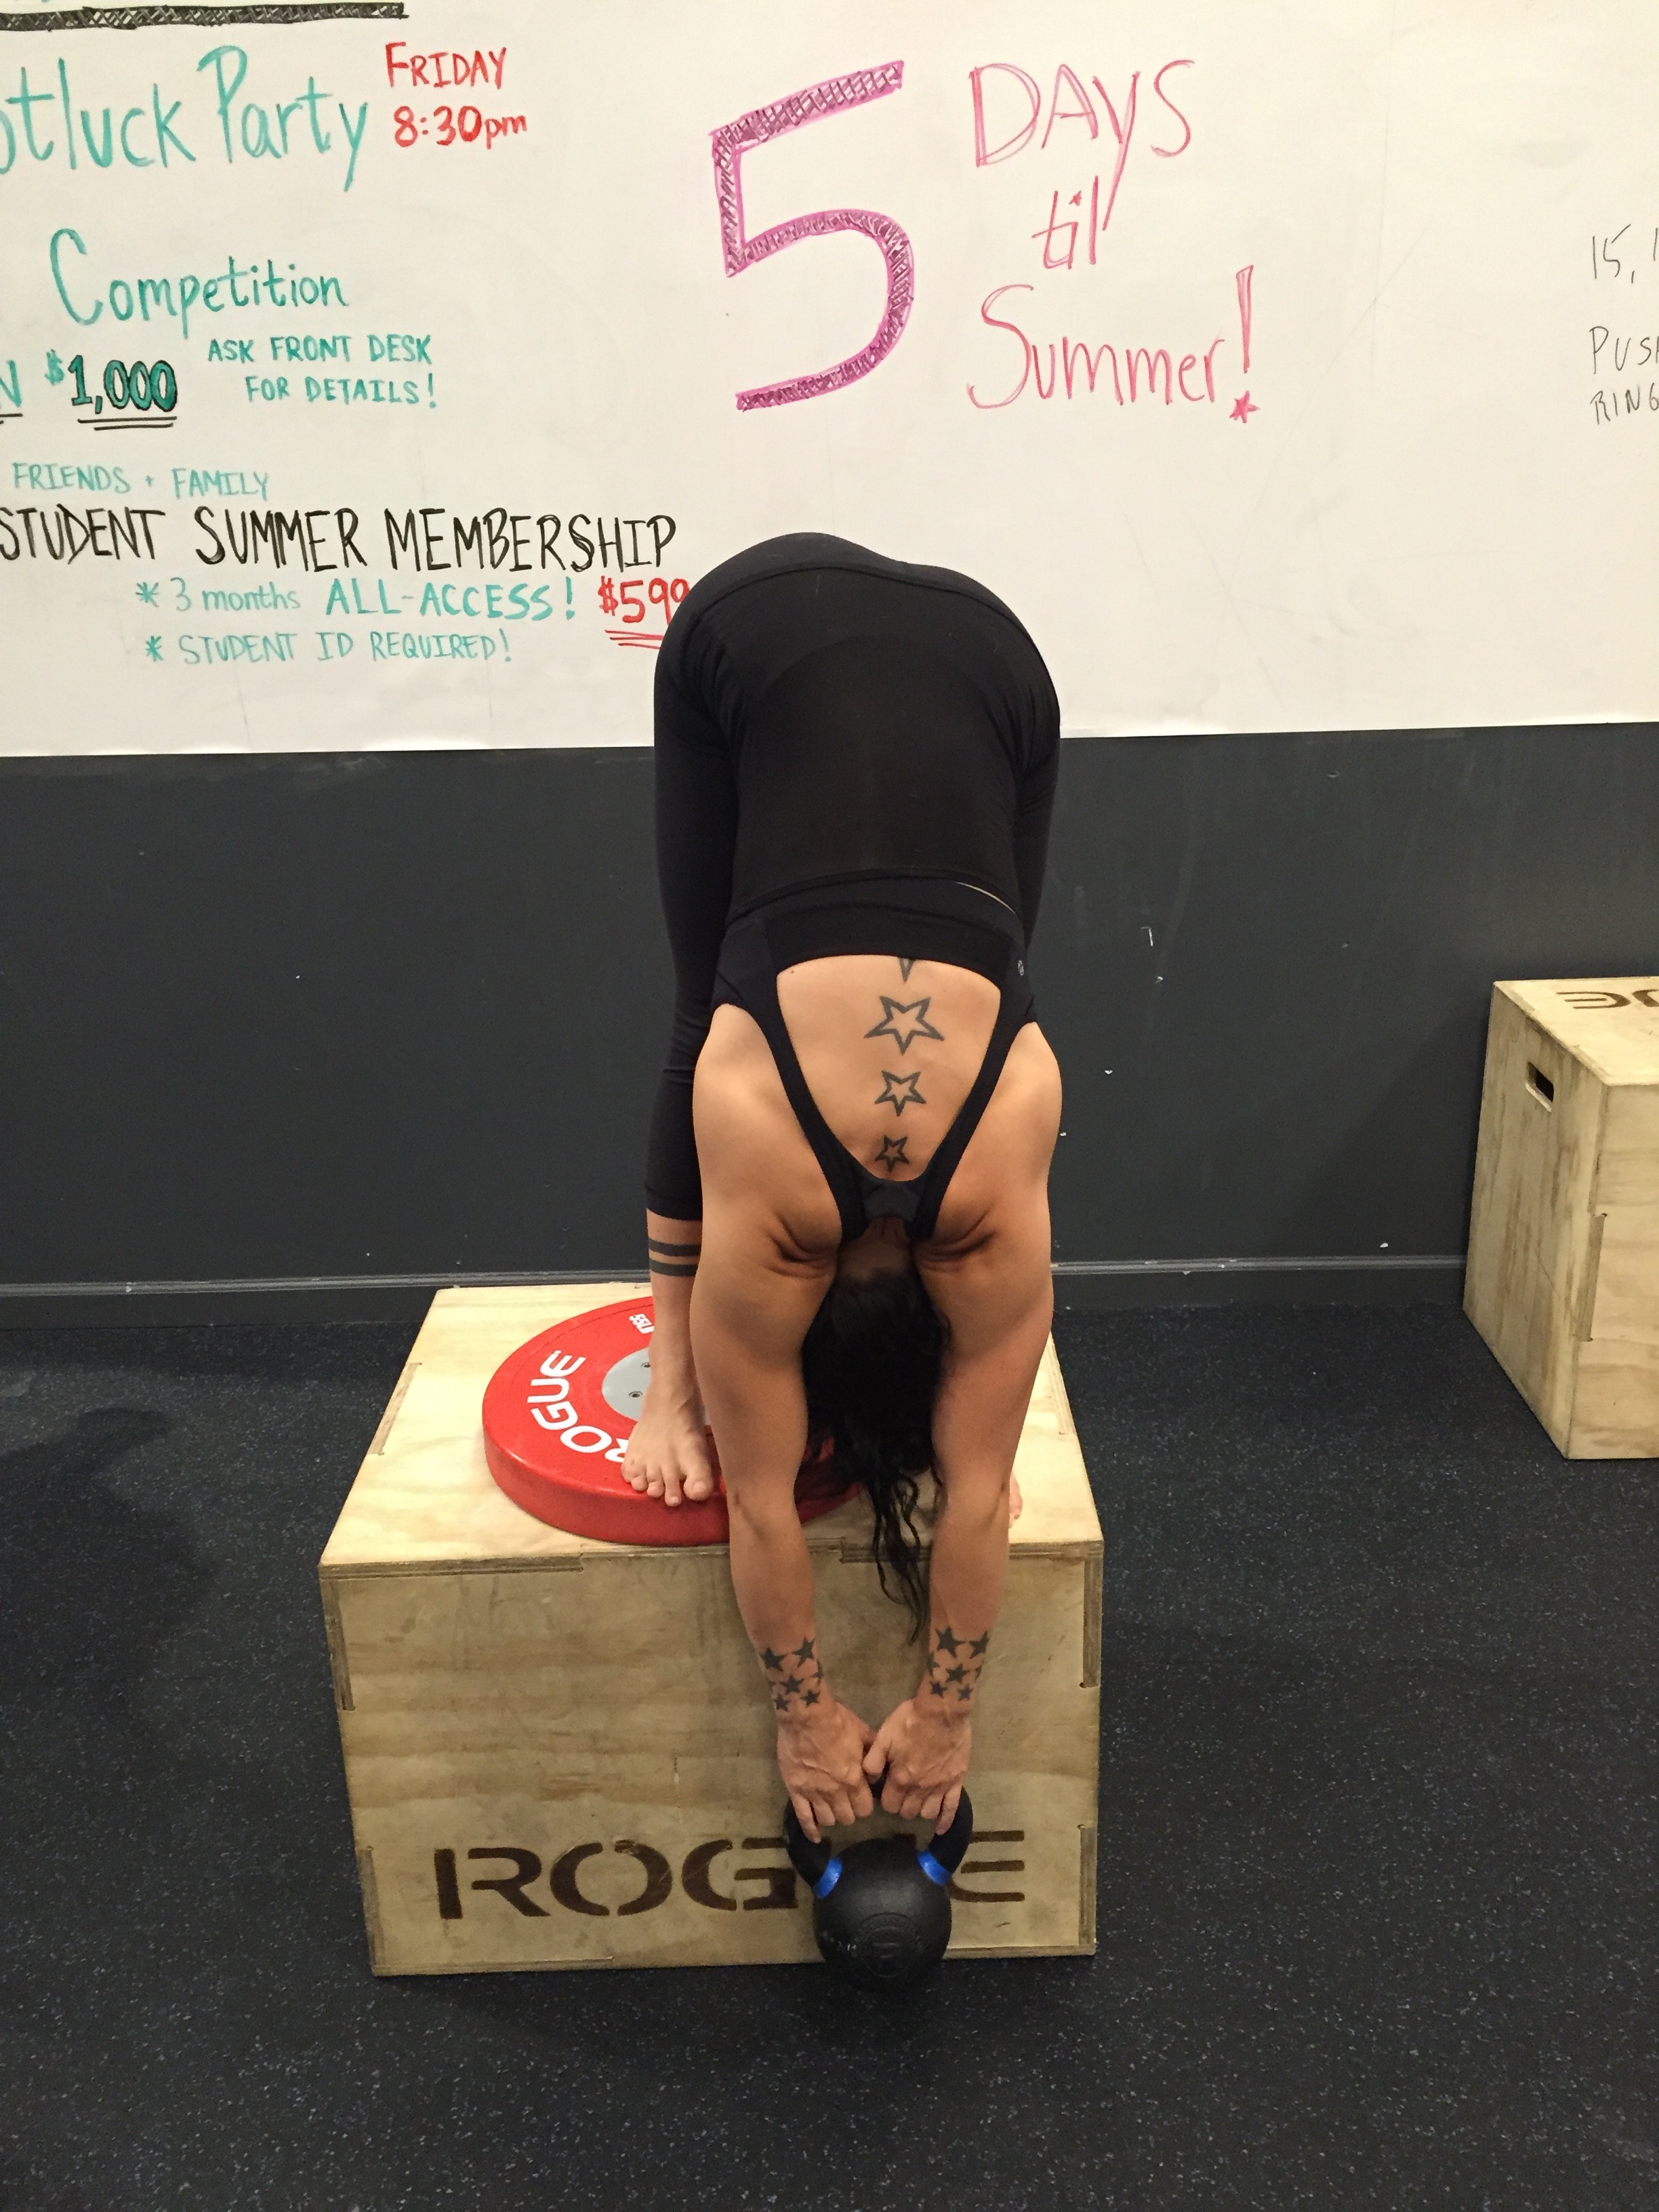
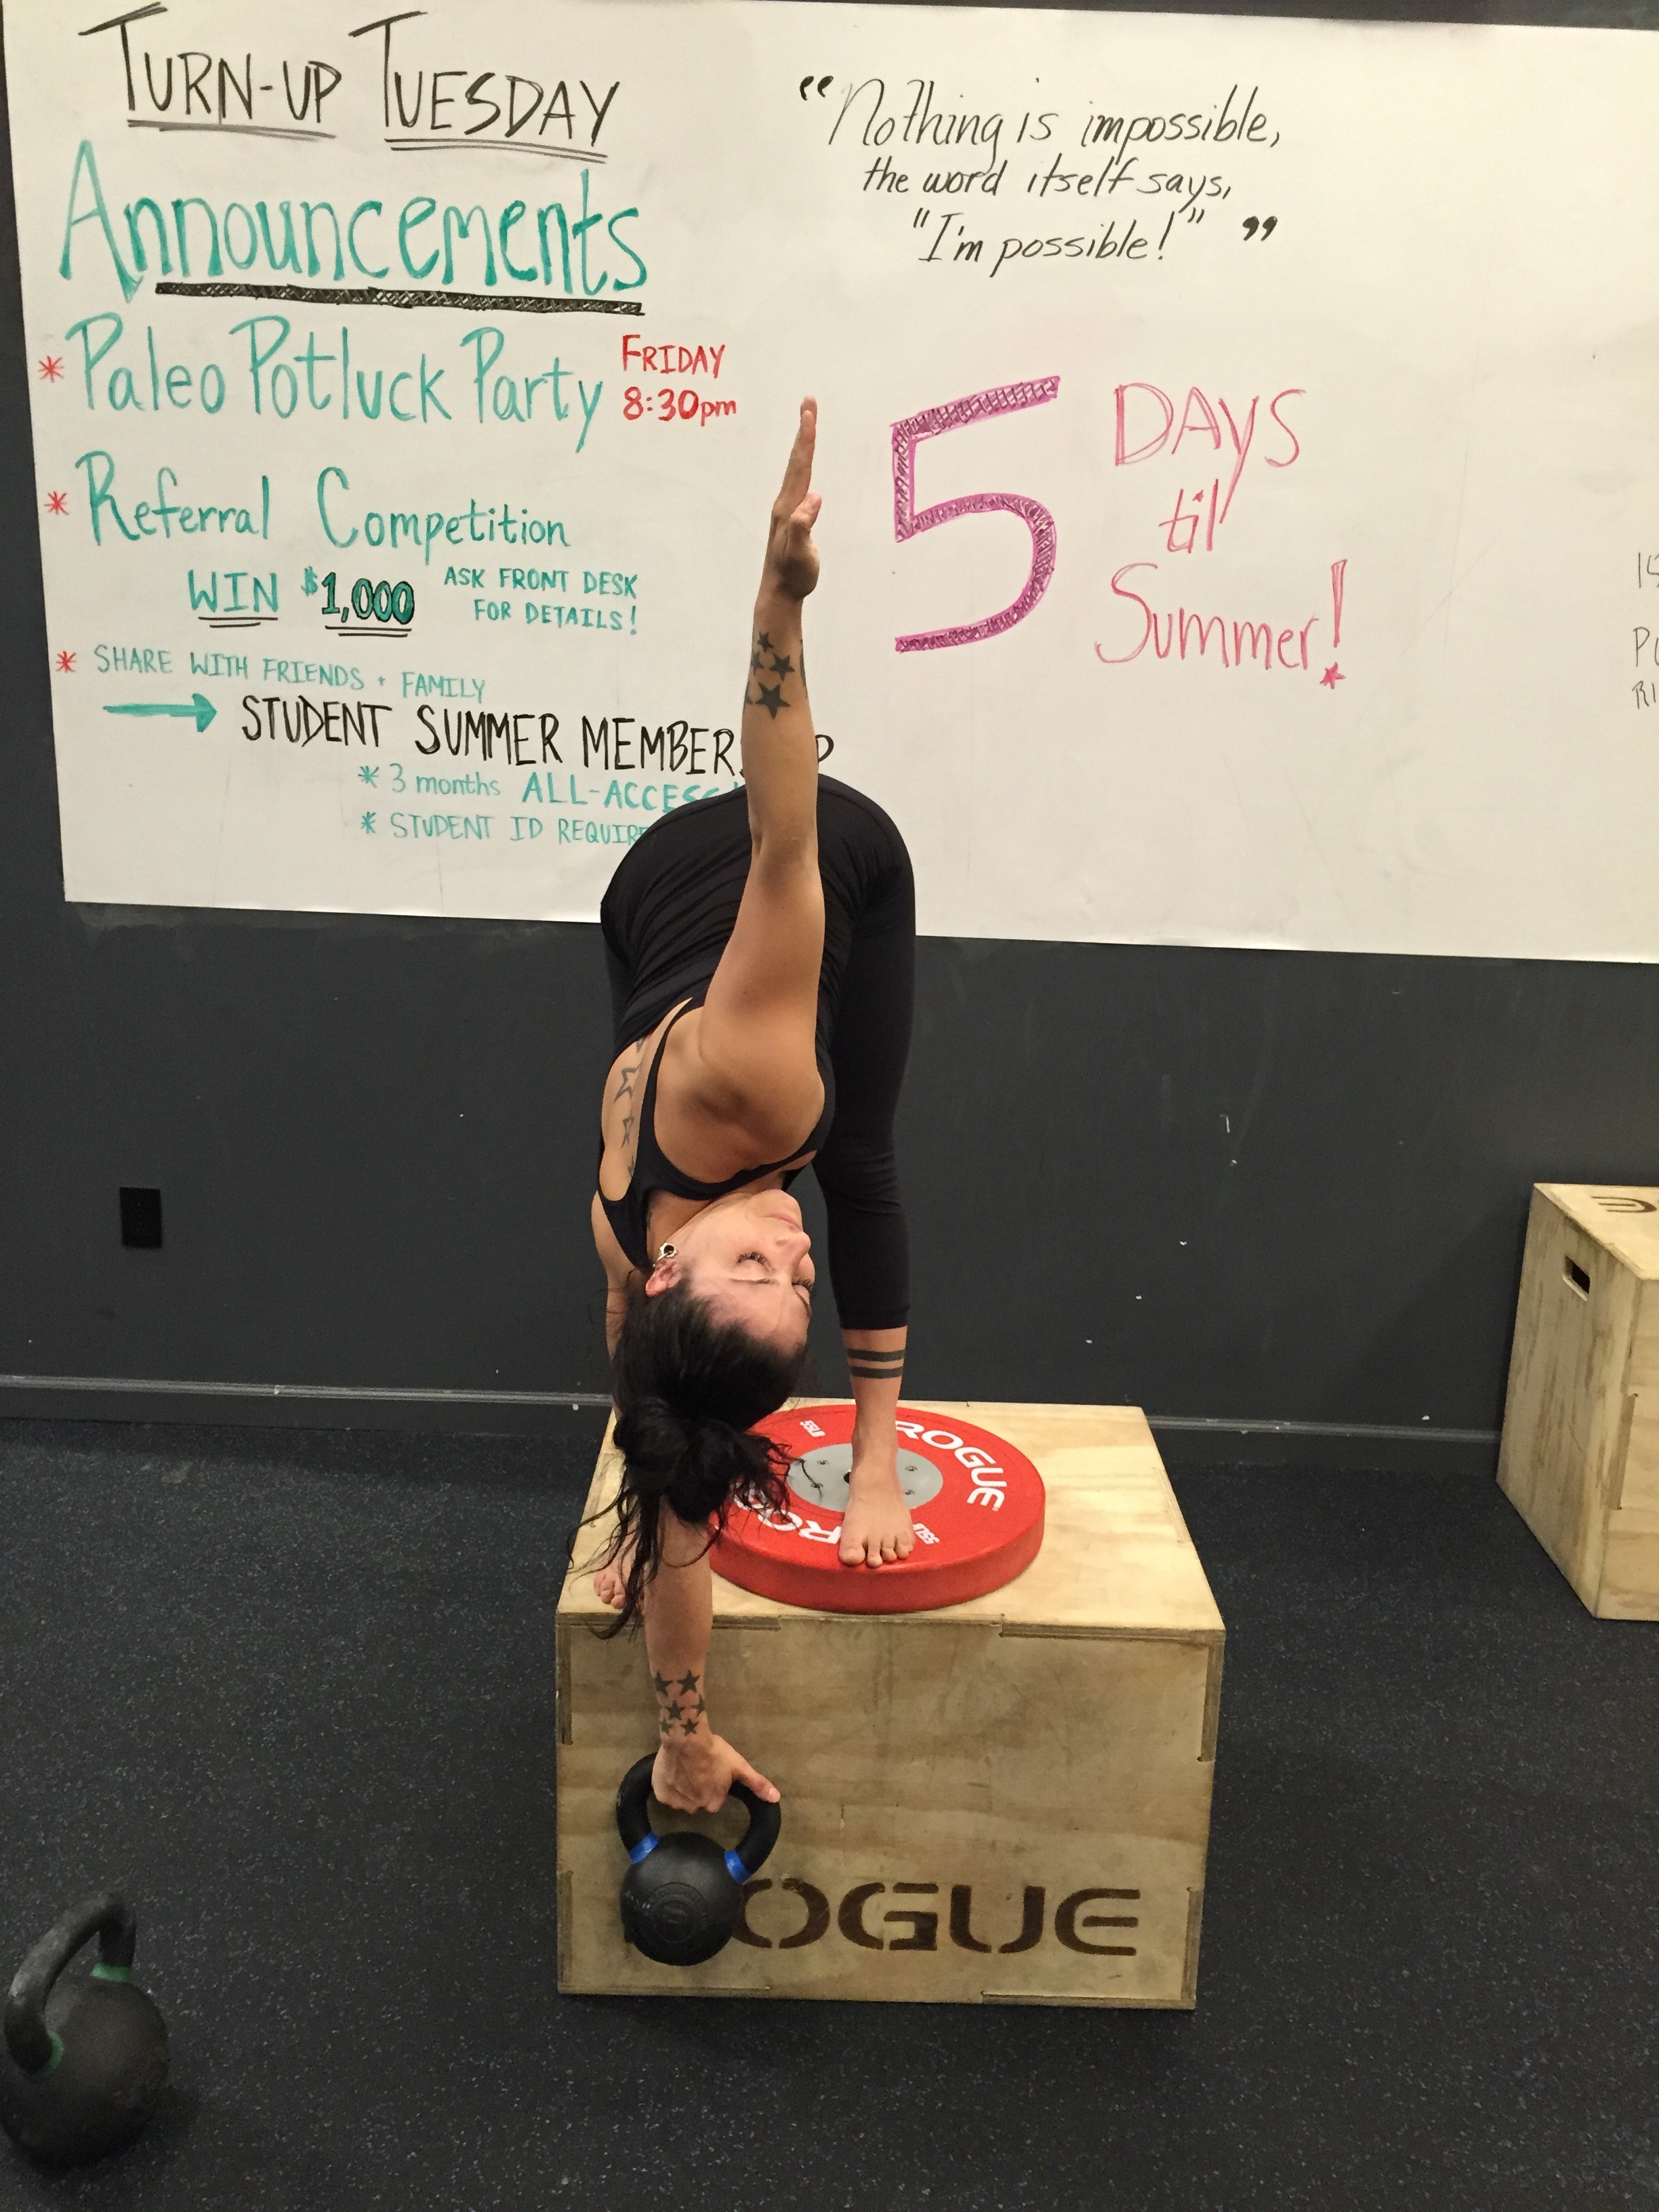
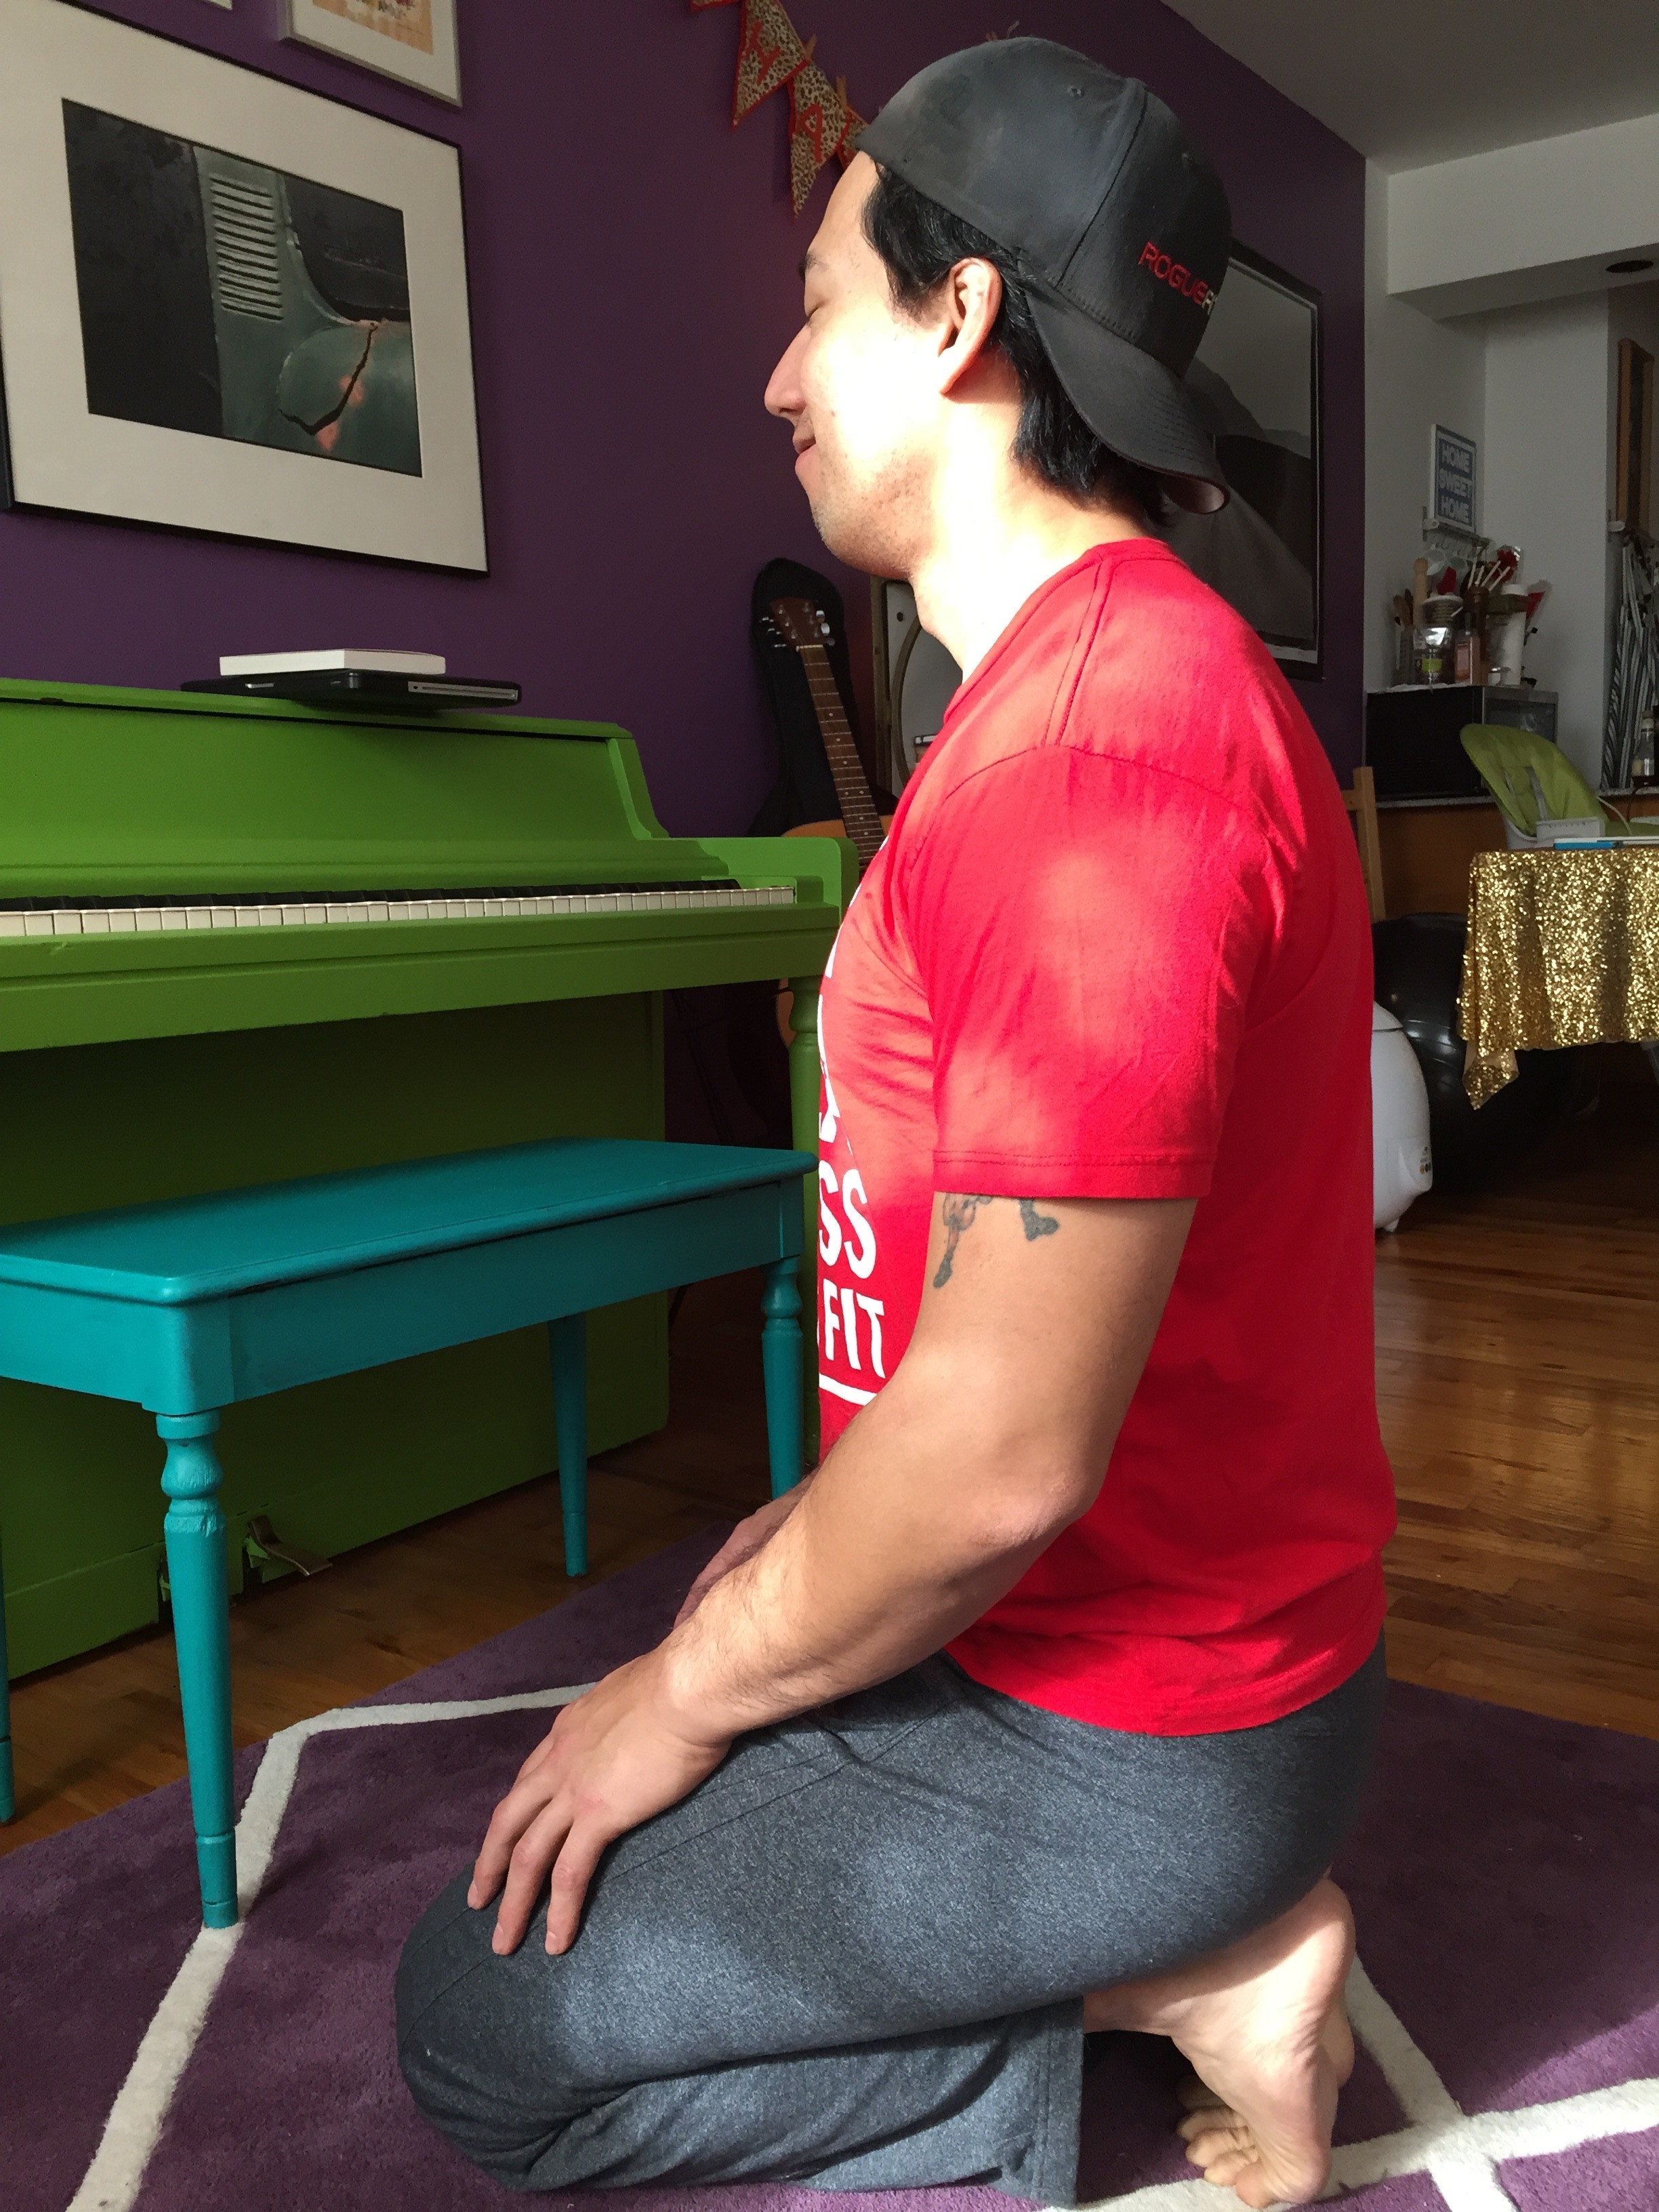
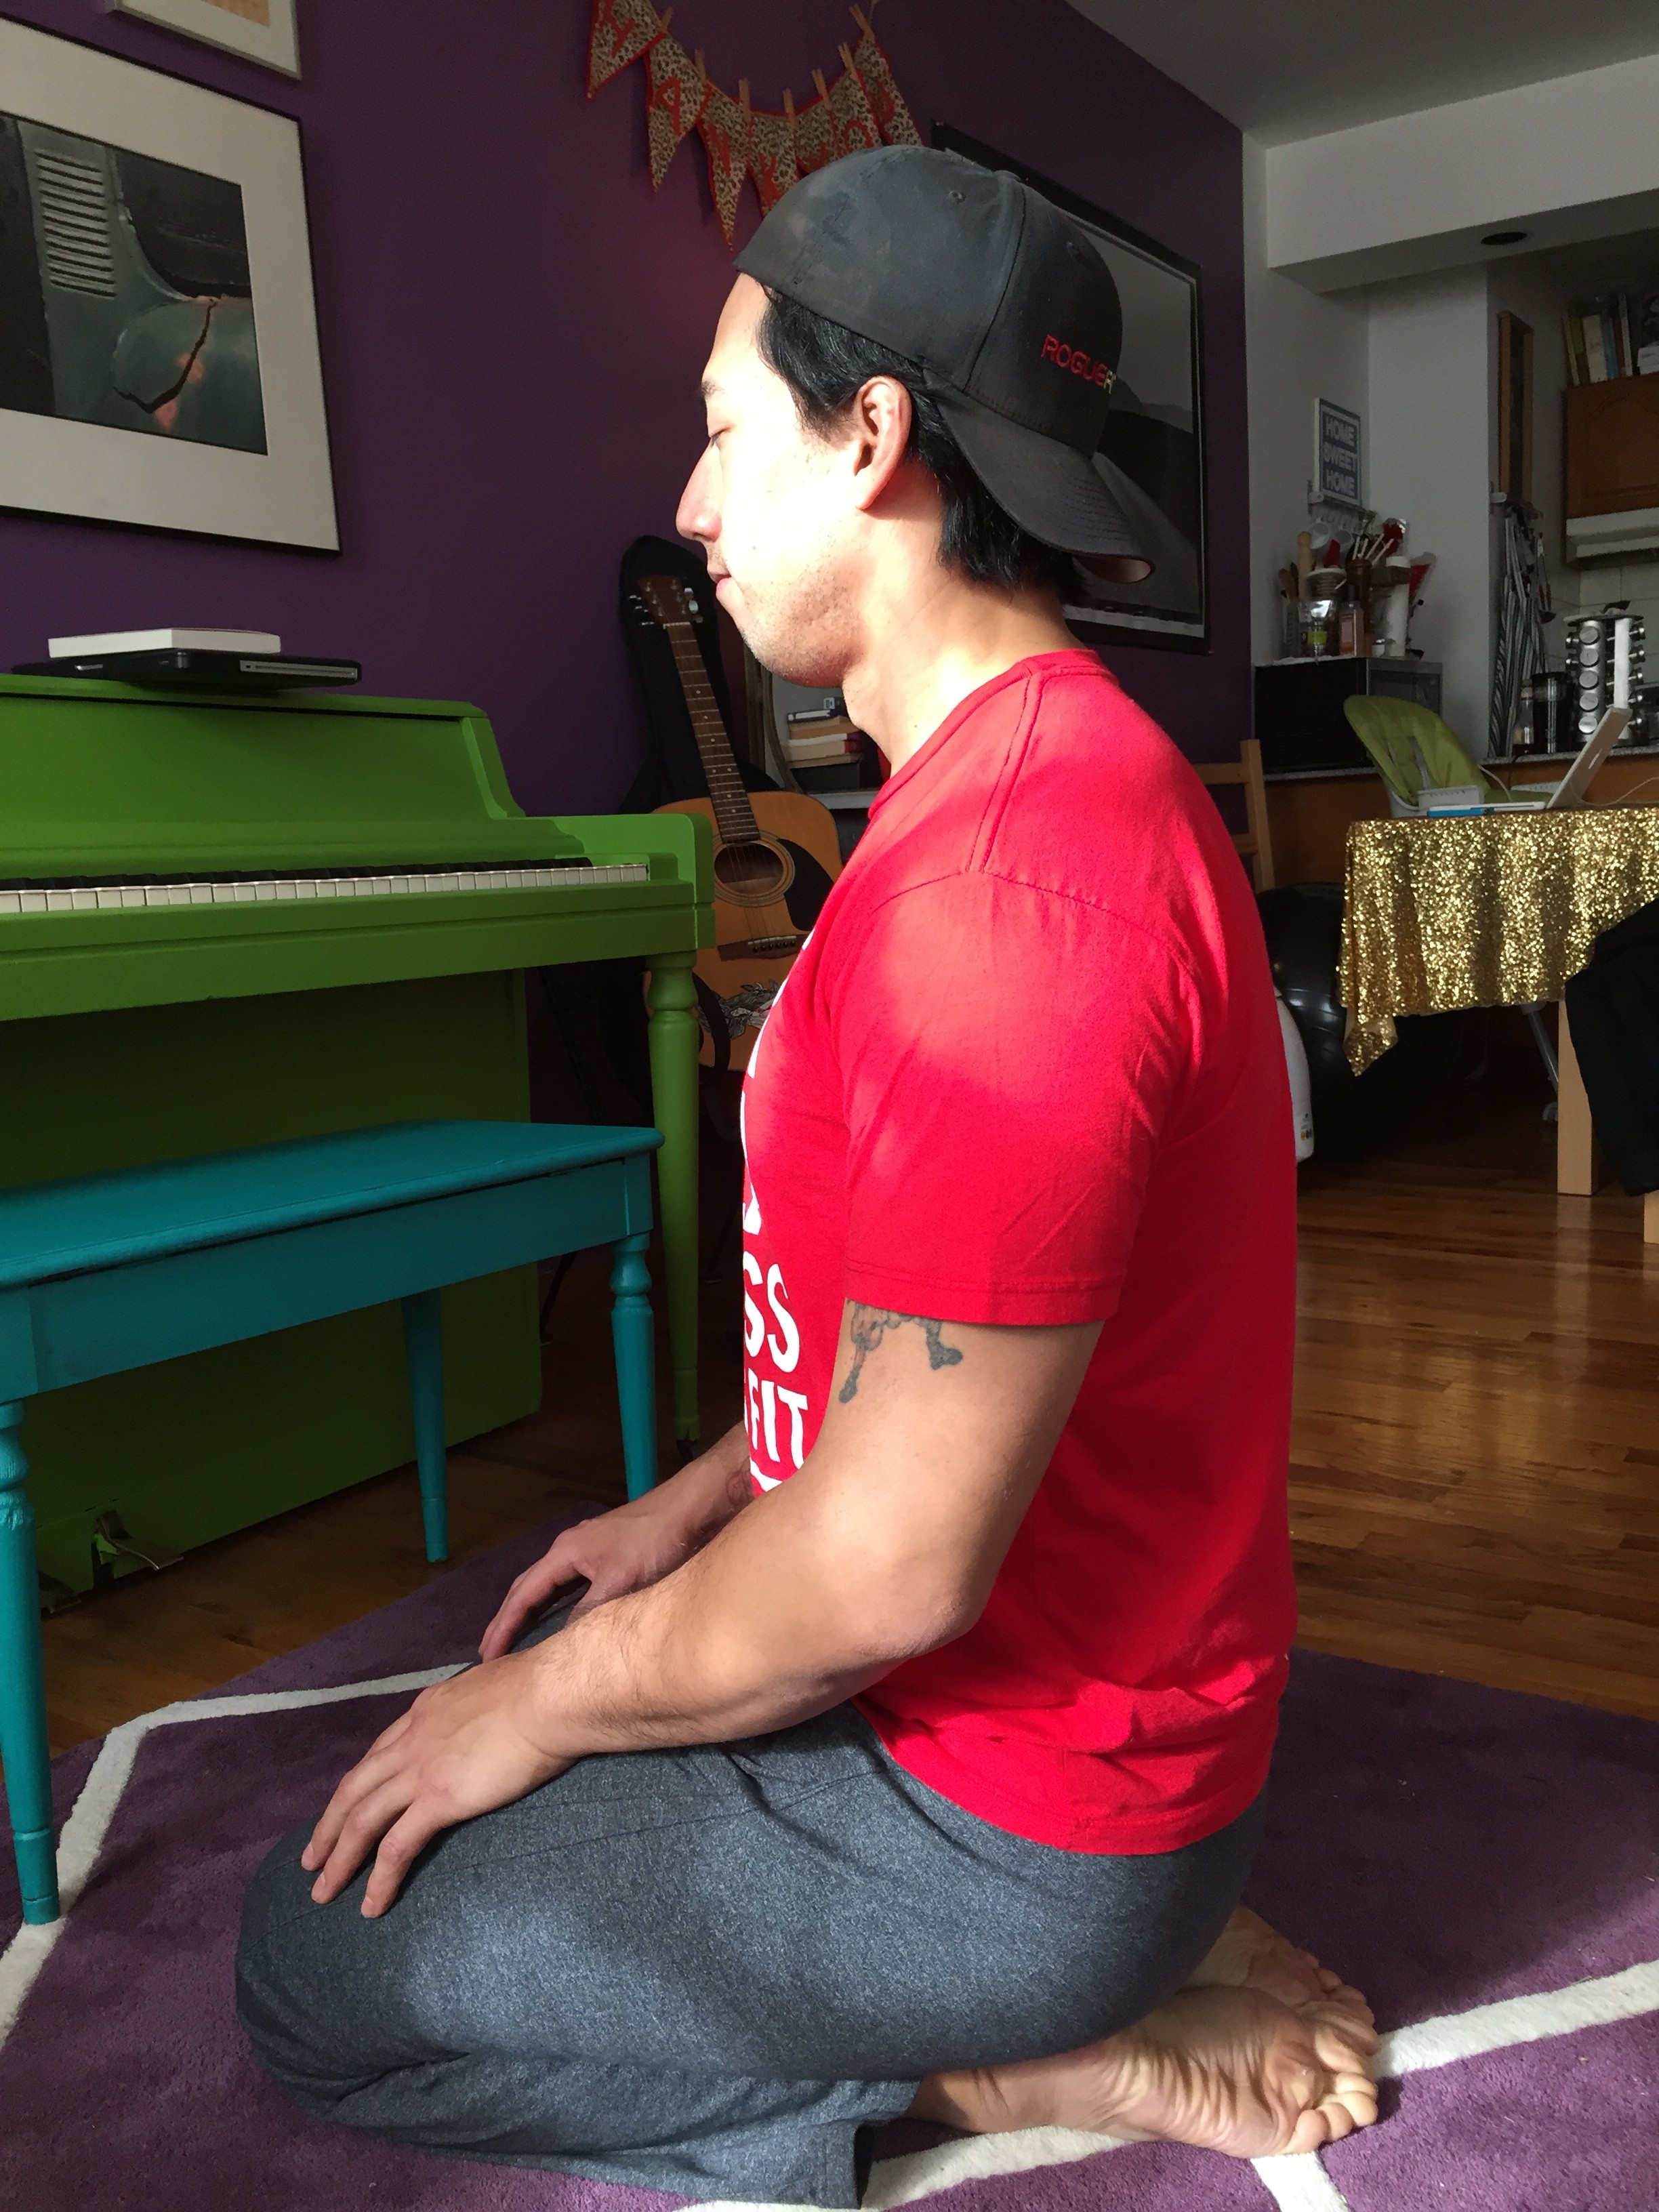
Many people fall backwards when they squat and their knees cave in and their weight shifts into their toes and their heels lift.  Classic errors.  When working with them I ask them what they are focusing on when they squat and the answer is always “Keeping my chest up.”  I ask “Why?”  They respond, I was told “I have to be upright when I squat.”  It is that motivation to have their squat be more upright that causes their squat to look like shit.  If you insist on trying to remain upright when you squat at the expense of all the other points of performance then you will forever have a shitty squat.  If you are reading this and you can squat upright and keep your heels down and knees out and go thr24384_409505069061_1457955_nough a full range of motion and lift heavy weights, then continue to do so.  That’s great.  However, many many people cannot and, for the foreseeable future, should not bother with trying to maintain an upright torso.

Please remember that I am not saying they should round their backs.  A neutral spine should be maintained under load always, but the angle of the torso can shift to nearly horizontal while maintaining a neutral spine under load.  Do not confuse “good” with “optimal.” An optimal torso angle is closer to vertical but a good squat with a non optimal torso angle is better than an upright squat on your toes.

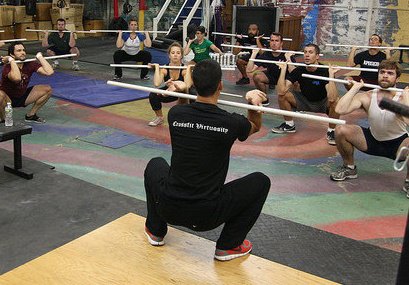
We often refer to uprightness in a squat as maturity and horizontal as immaturity.  Think about why that is.  A more mature and experienced lifter that has more years under her belt can evolve to a more mature position, but a beginner lifter will often have to train in less optimal positions before they can even access more demanding positions.

Here is why the immature squat works better for many lifters:

  1. They are better balanced. An athlete that is out of balance is inherently unstable and cannot access muscular control when the nervous system is preoccupied with not falling down.
  2. An immature squat allows the hips to sit back further and puts tension in to the posterior chain. Once the glutes and hamstrings are on tension they can fire better to drive the knees out and pull the knees back allowing more weight to settle into the midfoot and heel.
  3. An immature squat properly loaded can help strengthen the back muscles which allows the squat to be a great assistance exercise in developing the deadlift, clean and snatch which require the spine to loaded in a similar position.
  4. Greater flexion at the hip reduces the amount of flexion at the knee and ankle to achieve proper depth thus it is easier for athletes to squat to depth with their feet flat on the ground.
  5. It reduces a lot of knee pain symptoms associated with squatting upright.  Primarily due to greater recruitment of the glutes and hamstrings as well as the reduction on knee flexion.

It’s okay if you don’t believe me, but find the worst squatter in your gym and see if it works on them.  Don’t judge a squat by how it looks, judge it by it’s functionality.  Can the athlete maintain a balanced position? Can they go through a full range of motion?  Can they have their knees track their toes? Can they maintain a neutral spine?  If these criteria are met, then don’t worry about how it looks.  Let your athletes get strong with good mechanics.  Once they have a better base of strength and have more experience, then go back in and see if you can improve their positions.

What about catching cleans and snatches?  Maybe make your athletes get good at power cleans and power snatches before rushing to get them down into the bottom and receiving load in a bad position.  Do not be in a rush.  You can’t cram for strength.  Crawl. Walk. Run.


The WOD Doc!

I was so blessed to be on two episodes of the Wod Doc this week. If you aren’t following him on social media or watching his videos, then you are missing out. The Wod Doc, a/k/a Tim, and I go way back to when I did his CrossFit Level 1 seminar back at my old box, CrossFit Virtuosity. Now he’s coaching and putting out videos and changing people’s lives. Spending a few hours with him, I was really moved by how many people came up to him and thanked him for his work. I see him at Regionals and at the Games working on athletes and I know athletes are at home in front of the computer benefitting from his work every day. I have to take this opportunity to thank him as well. I can’t wait to work with him again and to hopefully beat him in a workout one day.

This first video is Panda Stretch which was made famous right here! Since Wod Doc saw it go viral he had to have me talk about it a little and give him a quick demo. Here we see how to bias that full hip flexion first and then pull length into the hamstring by slowly straightening the knees. We also talk a little bit about down regulation and trying to stimulate the para sympathetic nervous system by breathing slowly and deeply and letting the back of the neck relax.

In this next video I introduce you to the Panda Stick. It’s PVC pipe with a rubber super ball taped to the end of it. I showed Tim the “R Cubed” diagnostic: reach, rotate and raise. Lying in child’s pose you reach the arm straight ahead, externally rotate the palm to the sky and then raise the arm off the floor. In the prone position you are biasing a slightly flexed spine, similar to a hollow position, and capturing full knee and hip flexion (hopefully). This allows us to see what your shoulder is truly capable of without compensation from a downstream joint.

We used the R Cubed as our test and re-test and used the Panda Stick for a little scalene release. I show the “Pin, Spin & Mobilize” technique from Yoga Tune Up. It’s a great technique to use on a delicate area like the scalenes which are sensitive to a lot of compressive pressure.

The Power of Asymmetry

Most of us have blind spots: areas we do not propriocept well.  These blind spots hide in the movements we never do, but also live in the movements we do all the time.  Sometimes it pays to take a fresh look at some movements we know well to see if we can discover these blind spots.  I have a few exercises that I do for squats and lunges to help me break out of my routines.  I find these are extremely useful in targeting imbalances and in strengthening my core.  I learned these from Raphael Ruiz and am passing them on to you.

I will start with the squat variations which progressively get more challenging and then show you the lunge variations.  I recommend you video yourself doing these and watch them back to see how your body reacts to the uneven loading (just from watching these videos I see some areas that need improvement in my squat), also video your regular squat before and after doing these to see if there is a noticeable change in your squat.  Perform the squats slowly enough to feel where you lose balance or integrity and can reclaim it.  Roughly a 2 to 4 second descent with a 1 to 2 second pause in the bottom is good to get the most out of these squats.

Variation 1

Off-axis back squat.  Take a barbell place it on your back as far to one side as you can manage.  Try to stand symmetrically and keep the bar horizontal.  Perform 5 back squats trying to remain symmetrical.  Shift the bar to the other side and repeat.

The stimulus varies depending on how upright or “mature” your squat is.  For a vertical squat, the challenge is to avoid side-bending.   What you find is that your obliques work extra hard trying to keep you balanced.  For an immature squat, the stimulus is rotational in nature and you will be using your lower back muscles and obliques to counter rotate and keep yourself squared.

SquatsOffset1 from Force Distance Time on Vimeo.

SquatsOffset2 from Force Distance Time on Vimeo.

Variation 2

Barbell tip drops.  Use the same off-axis barbell position.  Perform a squat and hold the bottom position.  Now slowly bend sideways and touch the long end of the barbell to the floor and come back up to neutral before standing.  Perform 5 reps on each side.

This variation requires you to surrender your good squat position into a very unstable, off-balance position and then reclaim good position.  It will definitely work your core very hard as well as increase your strength and confidence in the bottom of the squat.

SquatsTipDrops from Force Distance Time on Vimeo.

LungeTipDrops from Force Distance Time on Vimeo.

Variation 3

Unilateral, Posterior to Anterior Banded Squats.  Tie a band to your squat rack and loop the end over one side of your barbell.  Walk out until you feel the tension is strong but not pulling you out of alignment.  Do a set of 5 squats.  Repeat on the other side.

Now instead of gravity’s usual pull down, you are contending with a rotational torque trying to spin you around as you squat.  This unusual force will cause many new sensations and cause you to focus on many muscles that you often do not focus on when squatting.  Screwing your feet into the ground and driving your knees out becomes the best strategy for stabilizing against this force.  Also the pull from back to front will encourage you to lift your chest and cultivate a more upright posture in your squat.  I found this to be a great corrective exercise for people that squat unevenly.

SquatsAsym from Force Distance Time on Vimeo.

LungesAsym from Force Distance Time on Vimeo.

You should always be striving to master the basics.   Using variations like this to challenge yourself is a great way to build confidence in your mechanics, to uncover imbalances and to correct them.  Give these a try and let me know what you think.

Get Loaded Get Twisted Get Loose

Here is an advanced set of hamstring stretches that you should definitely respect. These are aggressive and awesome, but you should be aware of the contra-indications. Do NOT do this if you suffer from any of the following: herniated discs, hyper-mobility (including double jointedness, “trick” joints, Ehlers-Danlos syndrome, or a previous history of dislocating joints), low blood pressure, or are pregnant. Seriously, don’t mess with this stuff.

This series of stretches is for those of you that suffer from really tight hamstrings and are generally well-muscled. I wouldn’t recommend it to most people that don’t lift heavy weights regularly. Furthermore, I would NOT do this prior to a workout as static stretching like this can weaken the posterior chain in the short term. Do this when your muscles are warm after a work out.

This is a series of weighted forward bends. In yoga the pose would be called weighted uttanasana. This article will explain how to do it safely and show you some exciting variations that will stretch your hamstrings like never before. Here is what you need: a box or a bench to stand on, a very firm yoga block or one or two large weight plates (I have a 55lb plate in the pictures), and a relatively heavy weight (10-20kg for women and 20-32kg for men).

As a general rule, I would do all of the following exercises unweighted at first to get a feel for them and to make sure the equipment is stable. Once you feel comfortable with the movements, add weight. There is a sweet spot when it comes to how much weight you should use. These are passive stretches and you should be relaxed and breathing slowly and deeply throughout. You should spend a minimum of 30 seconds in each stretch and gradually work your way up to 2 minutes. A weight that feels light at first will feel a lot heavier at the end of 2 minutes. A weight that is too heavy will cause you to be tense and you will not be able to stretch as effectively. I recommend an unloaded barbell or a kettlebell to do these exercises. The barbell is nice because you can load it very gradually. However, the barbell takes up a lot of room and can roll off your box if you try to rest it there. A kettlebell takes up less room and doesn’t roll away when you leave it unguarded. However, you cannot adjust the weight of the kettlebell, so you’ll probably need to have a couple to choose from to find the correct weight.

The first exercise is called a “Jefferson Curl” or a “Weighted Roll Up.” Stand up tall with your feet together. Slowly roll your chin down into your chest, then roll your shoulders forward and start to round over one vertebra at a time until you hands are down by your feet and your head is in looking at your knees. Hold at the bottom for a few seconds and then slowly come up by tucking your tailbone under, stacking your spine up tall starting at the bottom until your shoulders and head come up last. Your hands should slide down and up your legs throughout the performance of this exercise. Most likely you’ve done this in some yoga class somewhere. Now stand on the edge of a box with your whole foot on the box but your toes very close to the edge. Hold the weight in front of you resting on the front of your thighs with your arms long and straight and relaxed. Perform the same exercise letting the weight slide down the front of your legs. Watch out for your toes and let the weight lower past the edge of the box as far as your flexibility will allow. Hold for a few seconds and then roll back up slowly. Perform 5 slow repetitions.

Weighted Uttanasana. Perform a Jefferson Curl but hold the bottom position now. Breathe long, slow, deep breathes. Five deep breaths is a good start. Eventually you want to put a stopwatch on the floor in front of you so you can check in. Gradually work your way up to 2 minutes. Most people cannot straighten their legs all the way. If you find it difficult to straighten the legs, bend your knees deeply, place your belly on your thighs, take a big inhale and as you exhale try to straighten your knees while keeping your belly on your thighs. Do not let the weight swing forward, keep the weight close to the box. It’s okay if it rests against the box (closer is better). Don’t rock your weight forward into the toes, be sure to keep your heels down. Be careful as you stand up, you might experience a head rush. I have my athletes work in pairs and spot each other. Try to do these somewhere that has mats and padded floors and somewhere that you can drop the weight if you suddenly feel lightheaded or off balance.

uttanasana2

uttanasana1

profile2

profile1

Weighted Asymmetrical Uttanasana. I learned asymmetrical uttanasana from Jill Miller. It is a great hamstring stretch but it also causes your femur to get pushed deeper into your hip socket (joint approximation) which feels amazing and helps your hips function better. I, of course, decided to take it to the next level and add weight to it because it makes it even more awesome. Place a yoga block (do not use a squishy foam block. Cork or wood only.) or weight plate on your box. The thickness should be between 2 to 4 inches. Place your feet parallel and symmetrically next to each other so both feet are pointed straight ahead and the toes line up with the edge of the box. Perform the Jefferson Curl with weight and hang down. Again breathe slowly and deeply. Initially, you will not want to put weight into the elevated foot, give it time. Slowly breathe and keep trying to shift your weight back and forth until you feel it is even between both feet. Bend and straighten the knees in time with your breath if you need to. The sensation of the forward bend changes entirely when you are asymmetrical. I suddenly feel it deep inside my hip joint and in my lower back (quadratus lumborum). Before switching sides test your squat or your deadlift setup (or both). You’ll notice the ability to squat deeper on the side that was elevated and notice that the elevated side feels much better in the deadlift setup and the hip will be further back. Repeat on the opposite side.

right1

left1

Weighted Asymmetrical Uttanasana with a Twist. Repeat the Asymmetrical Uttanasana now and while you’re in the bottom position let go of the kettlebell with one hand and reach that hand up to the ceiling, while turning your head and following it with your gaze. Hold this position and breathe and try to broaden across the front of your chest. After about a minute switch hands and twist in the opposite direction. One side will feel much more difficult because of the asymmetry. That’s okay. Keep breathing. Switch your feet and repeat the twists.

right3

right2

left3

left2

Take your time and try to accumulate about 5 to 10 minutes of total time playing with these variations. Bigger muscles require more work to stretch so use a little weight and apply pressure over time to make changes in those hamstrings. Consistency with these stretches will pay off.

Special thanks to my models: Samantha Star and Mike Aidala. Follow them on instagram @lithiumkitten @Mike.Aidala

Shoulders Up?

There is a debate that is still raging on about whether to push your shoulders up or pull them down. This is in reference to the overhead position seen in handstands and some weightlifting moves.  Many schools of thought say the shoulder, or more specifically the scapula, should be depressed when overhead because that is more stable. However, gymnastics and weightlifting coaches often cue “push the shoulders up into your ears.”

What is the correct answer? It depends.  I will examine this from several perspectives.

As an initial point of reference, I refer the reader to Star Trek 2: The Wrath of Khan.  Khan was defeated in the end, because he suffered from two-dimension thinking.  Kirk was able to get the jump on Khan by using three-dimensional maneuvers.  In order to understand the shoulder we must think in three-dimensions.

Overhead we seek to create stability.  The body has two basic ways to create stability: active and passive.  Our body defaults to a passive stability all the time: when we lean our hip over when standing in line; when we rest our chin on our chest while texting; or when the arch of our foot collapses and rests on the ground.  A passive stability is where a joint moves into some end range where, because of bone-on-bone restrictions, it can no longer move and is therefore “stable.”  An active stability is created with muscles and bones working together to create position that is strong yet also has movement options.  For example, externally rotating the hips to create stability in the hips that also allows for strong stable hip movement.  See squatting.

The shoulder, much like the hip benefits from active stability through external rotation.  That’s why our rotator cuff is so important: the Teres Minor and Infraspinatus externally rotate the humerus to create stability.  That is not the only mechanism for stability.  The shoulder is a complex system made up of the humerus, scapula and clavicle.  The scapula and clavicle anchor themselves on the axial skeleton (spine and ribs) and, therefore, the core musculature must stabilize the axial skeleton for the scapula and clavicle to be secure and stable.  A weak core leads to a weak shoulder.

A cue is just a cue.  When you hear the cue “shoulders up”, you shouldn’t mistake that for complex anatomical discourse.  It’s merely a direction designed to elicit as certain action from the athlete.  For example, if I cue someone to lift their chest up during a squat, I don’t care about their chest.  I care about their back and that I see it rounding.  Asking the athlete to lift their chest can create a series of events by which they engage their spinal erectors and bring their spine back to neutral or at least stop the flexion fault that is occurring.  It is a very quick shorthand to fix a fault.  Cues can create other faults.  I might cue an athlete to lift their chest and a series of events might unfold where the athlete goes into over extension of the spine and rocks their weight forward onto their toes.  That is a cue misapplied.  it’s not the cue’s fault, it was merely the wrong cue for that athlete.

When I cue “shoulders up” what do I want and what do I not want?  I want my athletes to actively push against gravity.  Always.  I am strength and conditioning coach and overcoming gravity is the means by which people get stronger. In a plank position, I want my athletes to push down on the ground until the scapula protract and their upper back starts to look slightly rounded (kyphotic).  I also want them to externally rotate so that the pits of their elbows face forward.  So I verbally cue “push the ground down.”  I also might give them a tactile cue of putting my hand on their upper back and tell them to push their upper back into my hand.  I would also tell them to screw their hands into the ground to create external rotation.

When the athlete goes into a handstand the same holds true.  I want the athlete to push the ground down.  I want them to externally rotate.  This is optimal.  What we see is that shoulder flexion and external rotation are both necessary components but there is a tension that exists between them, however they are not at odds.  If I cue “shoulders up” it is because I see an athlete that is not pushing down into the ground and is lazy through the shoulders.  However, I do not want to see my athlete push their shoulders so far up that they internally rotate and lose stability.  As is always the case when working with humans, they are fallible and they can misinterpret directions.

What we see can be misinterpreted.  The eye is fallible.  We need to embody these techniques and it is impossible to understand lifting heavy without lifting heavy.  We can get away with a lot of things that seem right in theory but if that theory does not work when applied to maximal loads then the theory was wrong.

Here is what I see: when I drive my shoulder all the way up to my ear, my humerus internal rotates.  When I actively externally rotate, the humerus screws itself back in and the shoulder appears to drop slightly.  When doing this in the mirror, it looks like I am depressing my scapula.  Under load we might end up in essentially in the same place but the muscular action is quite different and important.  Under heavy load the need to tell an athlete to depress is obviated by the fact that A HEAVY FUCKING LOAD IS PUSHING DOWN ON THE ATHLETE!  The athlete’s job is to PUSH AGAINST THE HEAVY LOAD.  This action of pushing is tempered by the act of also having to externally rotate.   Thus the cue would be to “break the bar.”  The best analogy I can give is to that of a screw vs. a nail.  We do not merely hammer our shoulders up into position, we push up and screw in to create stability.  It’s important that we remember that we are working in three dimensions and there is not one simple cue that will fix everything.

Cueing the Overhead Position from Force Distance Time on Vimeo.

Overhead strength from Force Distance Time on Vimeo.

Take A Seat

There has been a recent backlash against sitting and rightly so. Sitting has been heralded as the new smoking. Sitting at a desk hunched over a keyboard, staring at a computer screen is terrible for you on so many levels. I won’t go into all of it because I feel it has been well documented. Suffice it to say that if you don’t work standing up by now, consider getting a standing desk as soon as possible.

Sitting in a chair may be necessary at times, but eventually degrades your ankle, knee and hip mobility.

Sitting in a chair may be necessary at times, but eventually degrades your ankle, knee and hip mobility.

Clearly there are times when sitting in a chair is inextricably linked to the activity at hand like when you are driving your car or playing your piano. That being said, there are plenty of options for the sedentary beyond those instances where you can make a better choice about how you sit. The next time you sit, bypass the chair and go right to the floor. Sitting in a chair limits your range of motion and causes you to ultimately get tighter and shrivel up and die. Sitting on the floor actually requires greater range of motion and will help your joints stay supple and you’ll live a longer, healthier life.

Here are the four most common and productive ways to sit on the floor. If you haven’t been that close to the ground in a while, these can be challenging. Put your chairs up for sale on Craigslist and start reaping the benefits of sitting on the floor. It’s no accident that cultures that traditionally sit on the floor maintain their mobility throughout their lives.

Sitting cross-legged increases the external rotation in your hips and can be very comfortable for long durations.

Sitting cross-legged increases the external rotation in your hips and can be very comfortable for long durations.

Sitting cross-legged. The classic way most people sit on the floor is still an excellent choice for the person that needs to sit comfortably. Whether you are working, eating or meditating, the cross-legged seat provides a stable position in the pelvis because it passively allows your hips to externally rotate and that creates a good platform for you spine to stack itself nice and tall.

Sitting in a straddle is a great way to stretch your hamstrings while you multitask.

Sitting in a straddle is a great way to stretch your hamstrings while you multitask.


Sitting in a straddle. The next option is the straddle seat. For most deskbound types, this is extremely challenging due to the tightness of the hamstrings. Mulitple cushions might be necessary to elevate the butt high enough to allow you to sit up straight. Prolonged exposure to this position will cure your tight hamstring condition and make your cartwheels look amazing. Ask any highschool cheerleader or dancer and they will tell you they did their homework sitting in this position so they could stay flexible.

Sitting Seiza with the toes tucked under is a great relief for your plantar fasciitis and your tight calves.

Sitting Seiza with the toes tucked under is a great relief for your plantar fasciitis and your tight calves.

Sitting in Seiza with your toes pointed is a great stretch for your ankles and your tibialis anterior.

Sitting in Seiza with your toes pointed is a great stretch for your ankles and your tibialis anterior.


Sitting in Seiza (or Seza). The classic Japanese sitting position is called Seiza and common in all martial arts classes. Seiza is tough on Western people’s knees and ankles so start off by practicing on a soft surface with padding. If you’re knees are screaming, trying placing a pillow between your heels and your butt to raise yourself up a little higher. If you’ve been living an above-parallel life, Seiza will be a challenge but well worth it as it puts the knees and ankles into full flexion. Sitting in this position has two variations. I recommend alternating between having your toes tucked under and pointing your feet. Both positions are great and necessary stretches for the ankles. With the toes curled under and the feet in dorsiflexion, the plantar surface of the foot is stretched as well as the toes and the calves. This will prove difficult for women who wear high heels. With the toes pointed in plantar flexion, the top of the foot is stretched as well as the anterior side of the shin. This will often be very difficult for runners. Sitting in Seiza is a must for active people. You may not be able to sit like this for long, but a little bit every day will help with your lower leg mobility.

There is nothing a squat can't fix.

There is nothing a squat can’t fix.


Squat. Yes, you knew I would get around to saying you have to squat. However, today I don’t want you to squat for reps or weight. I simply want you to start squatting as a form of rest. Get into that squat when you’re waiting for the bus or going to the toilet. Get into your squat when you want to drink some coffee and send some text messages. Get comfortable down there. It’s not unreasonable to spend 10 minutes in a squat. Don’t fear the squat.

Spend more time on the floor and see how your mobility improves. Not everything has to be about doing more. Sometimes you just have to find a slightly better way to do the things your already doing. Instead of sitting in a chair, get down on the floor.

The Quidditch Match

This mobility piece is inspired by Harry Potter. What better way to mobilize your scary bits than with a ride on the old broomstick? For my friends in Canada and the US with tight hips, this is a great way to address those parts that often don’t get addressed. Getting up high into the hamstring and adductor attachment points is a great way to free up some range of motion in the hips. Give it a try. I am using a barbell on a squat rack with a yoga mat rolled around it. You can do this with a plain barbell or try to get at those places on the floor with a ball or roller. I find this way works much better.

The Quidditch Match from Force Distance Time on Vimeo.

Hip Helpers

I got a request from a friend in Canada that has some hip mobility issues. She is missing some range in abduction and external rotation. My first thought is to address the soft tissues and see if we can make some change in her range of motion that way. This video addresses the muscles of the glutes and external rotators. I am using a Yoga Tune Up® Alpha Ball.

Basic Butt Roll from Force Distance Time on Vimeo.

Forearm Blast: Part 4

Grip strength is important to health and fitness and if the tissues in your forearms are knotted up, then it will impact the ability of those muscles to fire properly. I have been doing Ido Portal’s 7 Minute Hang Challenge and it’s been kicking my butt. Without these Yoga Tune Up® therapy ball exercises, I would not be able to function.

See also:
Forearm Blast
Forearm Blast: Part 2
Forearm Blast: Part 3

Forearm Blast: Part 4 from Force Distance Time on Vimeo.

Forearm Blast: Part 3

The small joints of the body can take some of the most abuse in our training. If you are spending time lifting overhead or walking on your hands, then your wrists and forearms can get overused and abused. Make sure you do some of these simple strengthening exercises for your wrists to keep them strong.

Go to Forearm Blast: Part 2 for some good warmup stretches for the wrists. Then check out Forearm Blast for some more great wrist exercises.

Forearm Blast: Part 3 from Force Distance Time on Vimeo.